
Start at the roof edge and note every run
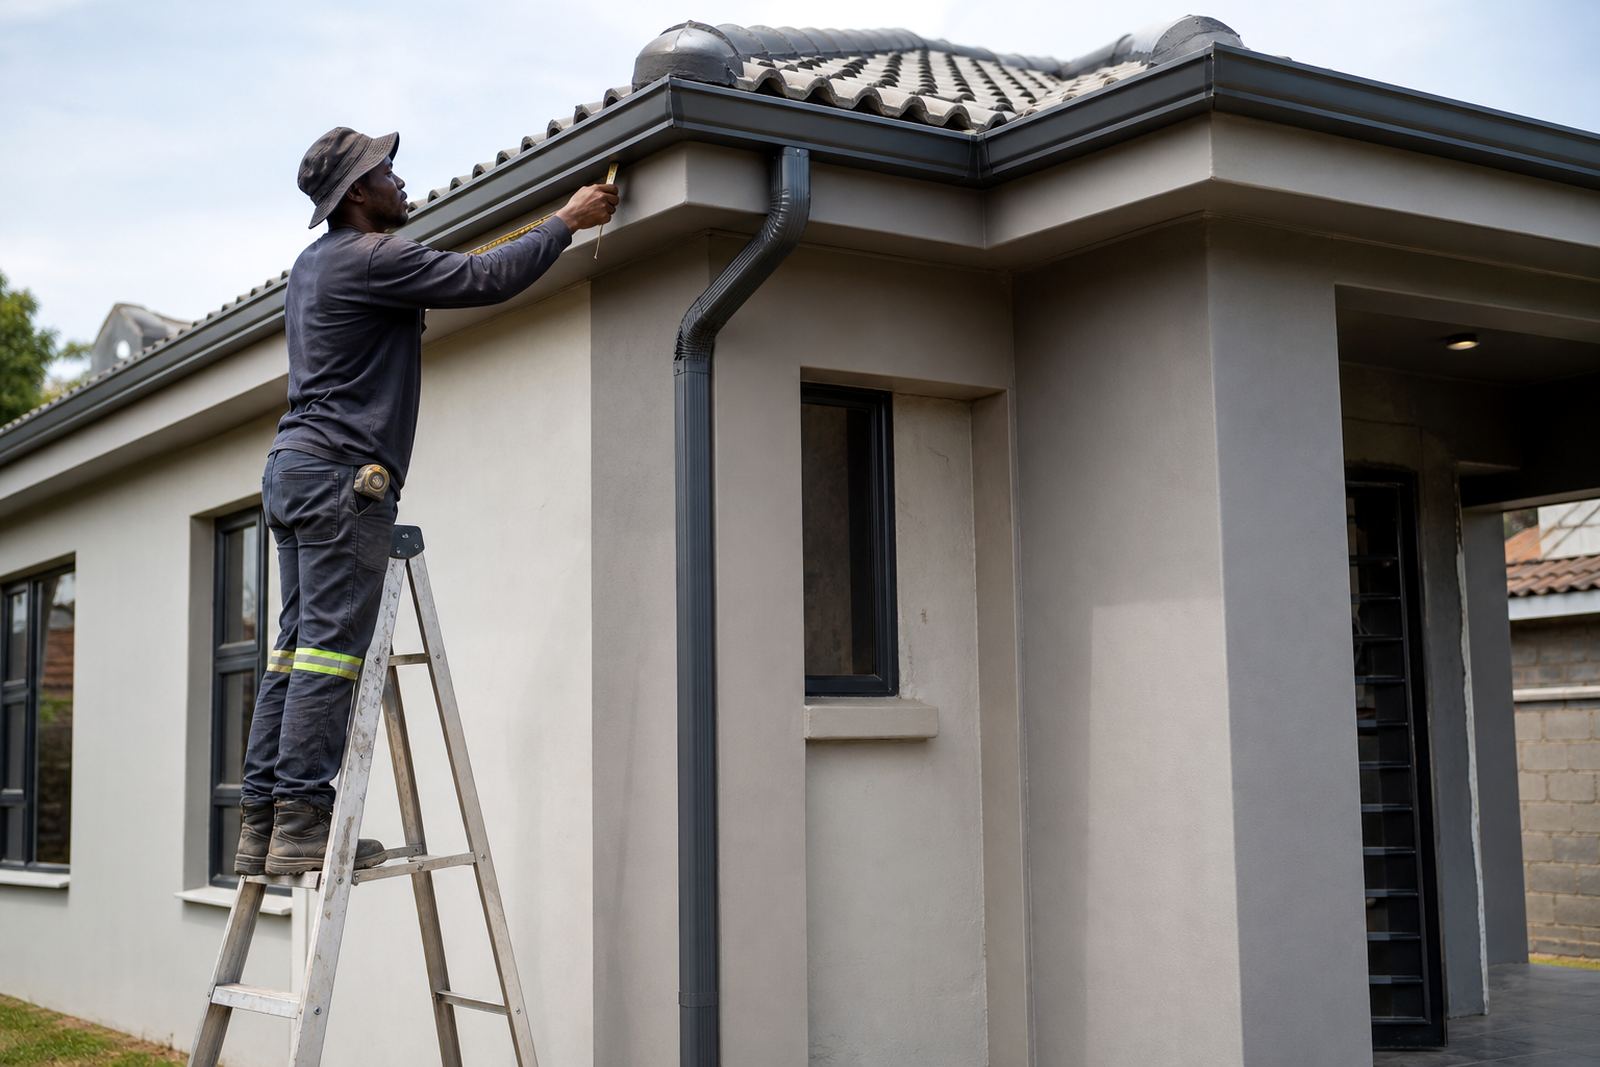
Walk the perimeter of the roofline and write down each gutter run separately. Measure the full length of each fascia line, then mark where the run stops at corners, parapets, expansion gaps, valleys, or changes in roof height. A simple sketch on paper is enough if it shows the left and right sides clearly.
If the roof has a mix of long straight lines and short return sections, label each one so nothing gets missed. In coastal towns like Durban and Cape Town, extra care helps where wind, salt and heavy rain put more pressure on joints and brackets.
- Measure each roof edge in metres, not guessed lengths.
- Mark internal and external corners separately.
- Note any section where access is tight near walls, gates or paving.
Record gutter sizes and fascia cover width
Check what gutter profile is needed for the roof area and rainfall load. Common residential jobs use a gutter sized to suit the roof span and water flow, while larger roofs, workshops and commercial units may need wider channels or extra outlets. The fascia board measurement must cover the timber or structure behind it, with enough face width for neat fixing and water shedding.
Measure the fascia board height and visible face width where it will be installed. If the existing fascia is uneven, warped or moisture damaged, note the worst points so the material list can allow for packing, trimming or replacement. A straight board line makes the gutter set-out easier and helps keep the finished edge tidy.
- Measure fascia face width at several points, not only at one end.
- Check whether the old board must be removed or covered.
- Confirm the gutter profile matches the board depth and roof overhang.
Count corners, joiners and stop ends properly
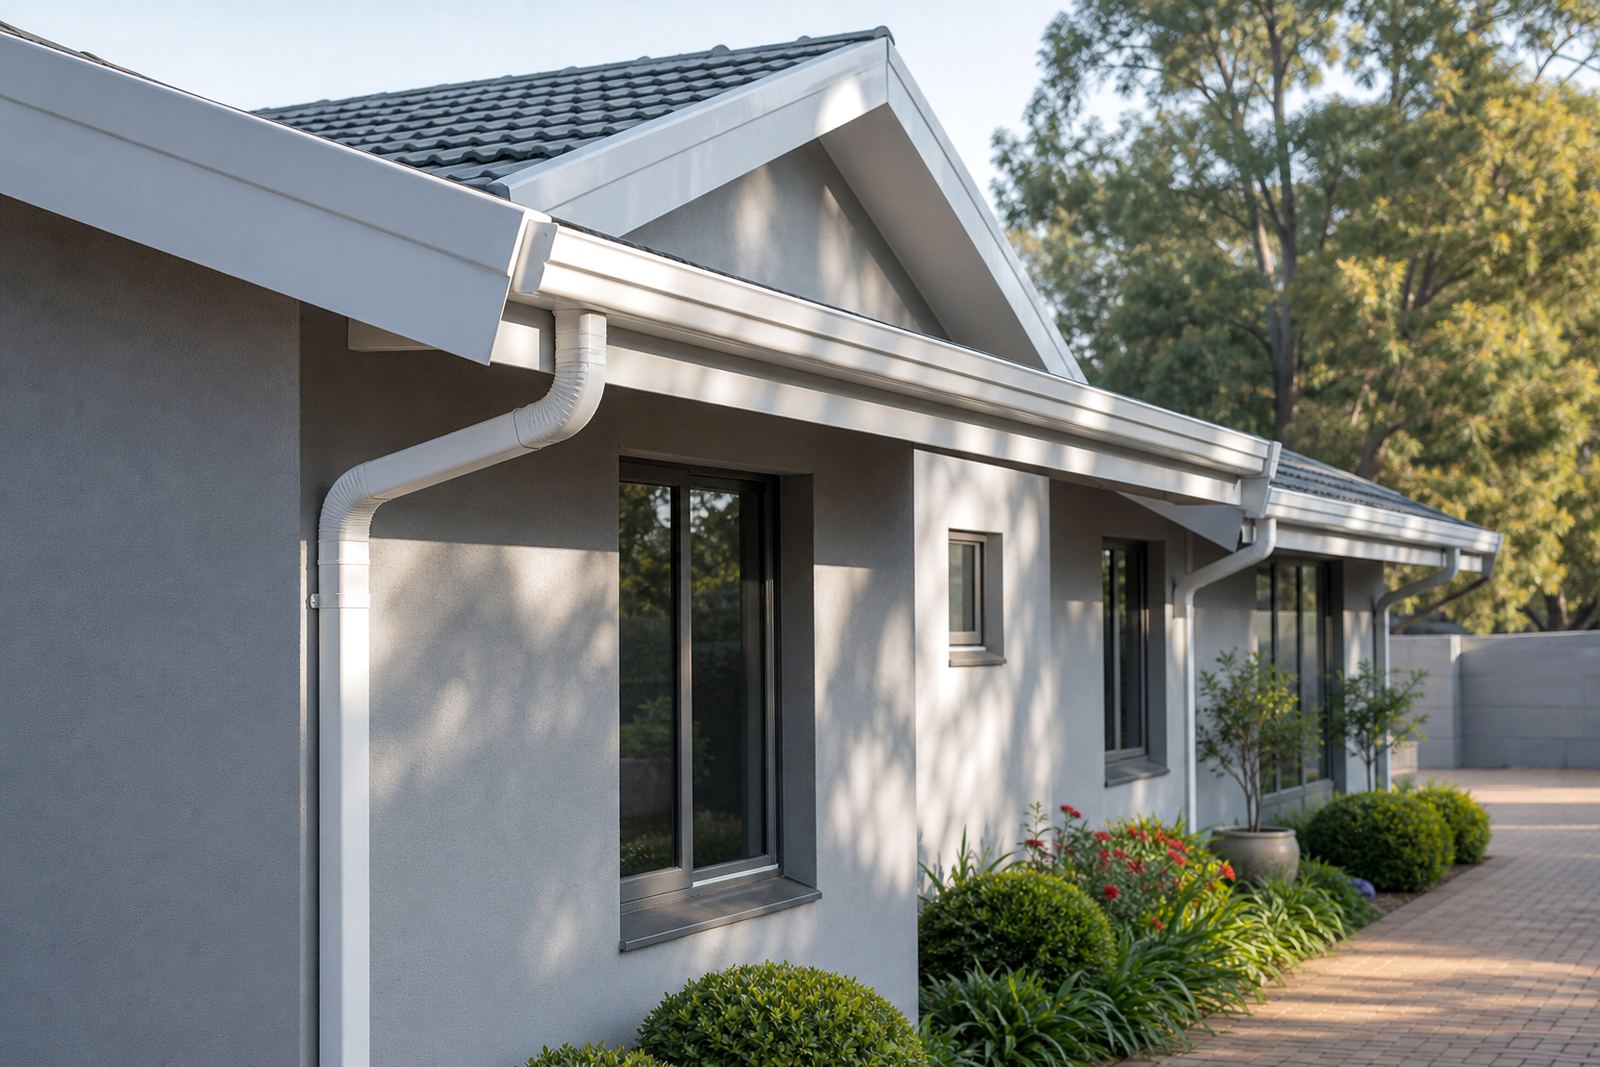
Every change in direction needs a proper count, not a rough estimate. Internal corners, external corners, end caps, stop ends and joiners all affect the material list and the time needed on site. If the roof has a box shape, a hip end, or a courtyard return, make a note of each angle and where water must be directed.
It helps to count all corner pieces twice: once on the sketch and once while standing at the roofline. Small mistakes here can lead to extra site visits or mismatched pieces that slow down the job.
- List every internal and external corner on the sketch.
- Mark where the gutter ends and where a stop end is required.
- Note joints that fall near brackets so fixing points can be planned.
Map outlet positions before the downpipes are set
Outlets need to line up with the roof fall and the planned downpipe route. Measure where each outlet will sit in relation to corners, valleys and low points in the gutter. If the roof drains in more than one direction, write down each outlet point clearly.
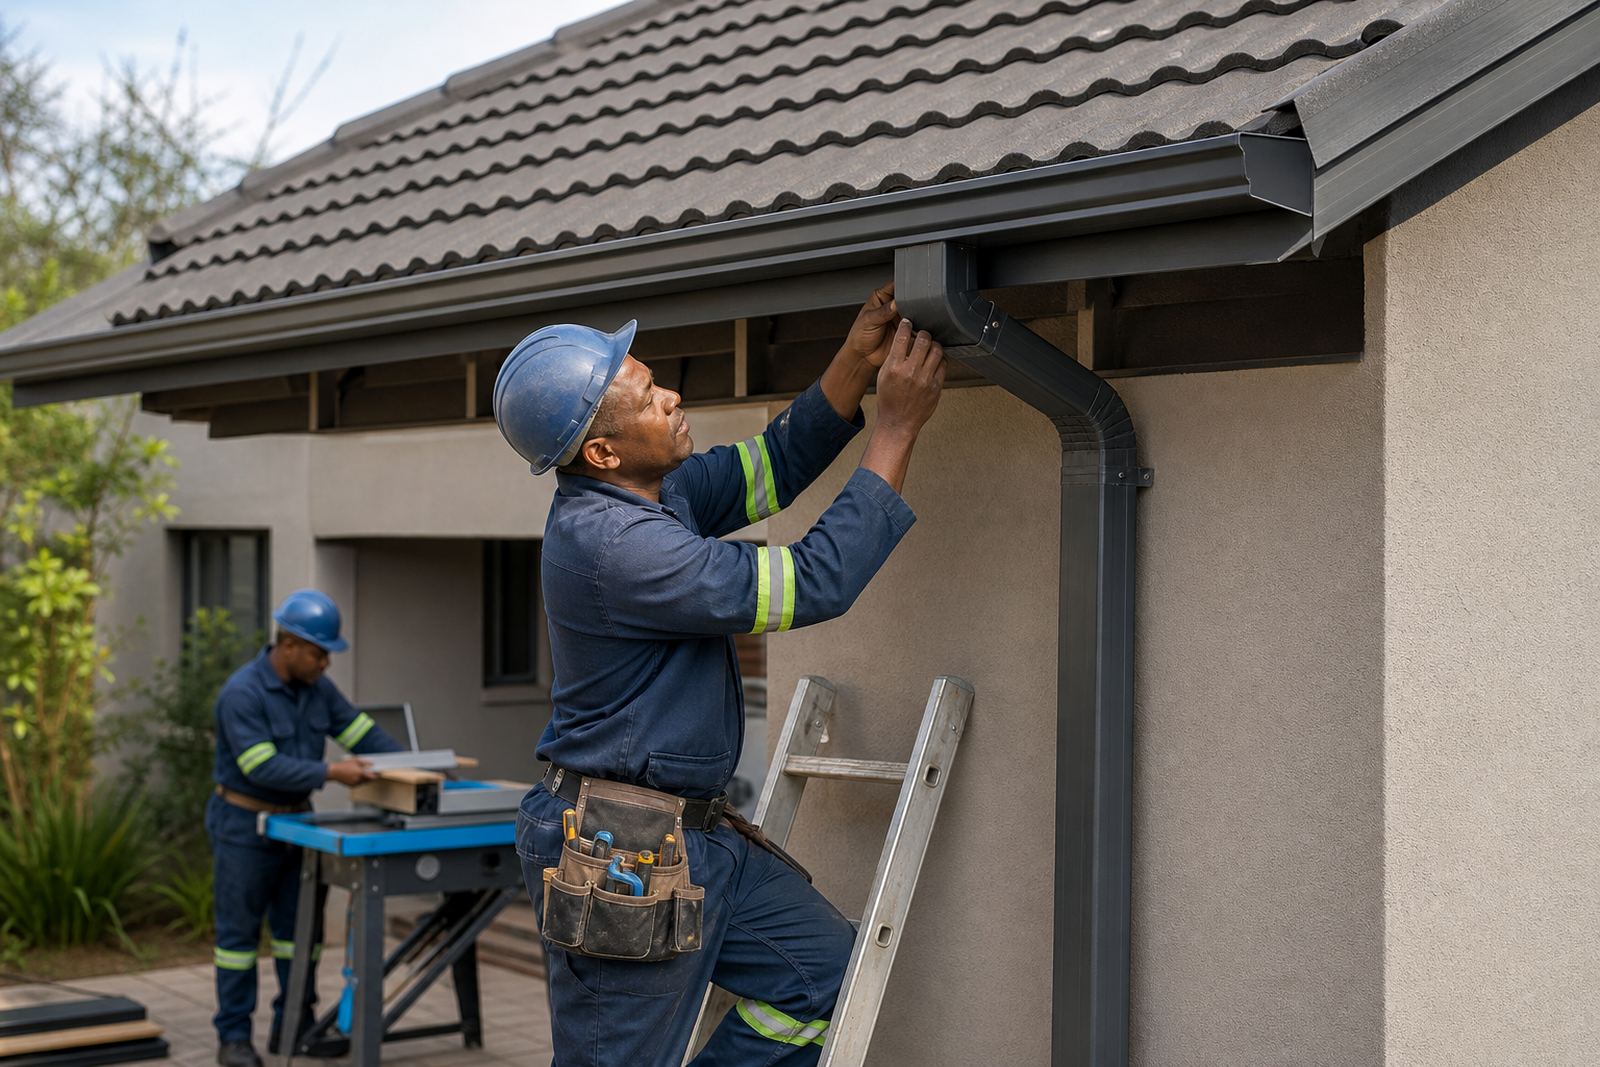
Also check where the downpipes can run down the wall without blocking windows, garage doors or service points. On most homes, the pipe run should be direct and practical, with enough drop to keep water moving. In taller buildings, competent people should handle all work at height and follow safe access practice.
- Mark each outlet position from a fixed point such as a corner or wall line.
- Measure the downpipe route from outlet to ground or drain connection.
- Check for wall features that may affect fixing positions or bends.
Allow for fall, slope and water flow
A gutter must fall gently towards the outlet so water does not sit in the line. A slight slope is usually enough, but it must be set consistently along the full run. Too little fall can leave standing water, while too much can make the gutter look uneven and push water too fast during heavy rain.
When measuring, note which end will be high and which end will be low. This helps with bracket spacing and outlet placement. For long runs, it is worth checking whether the roofline is straight or whether the fascia drops slightly already, because that can change the set-out.
- Mark the high end and low end on each run.
- Check that the proposed fall suits the outlet position.
- Measure long runs in sections if the roofline changes level.
Bracket spacing and fixing points on the day
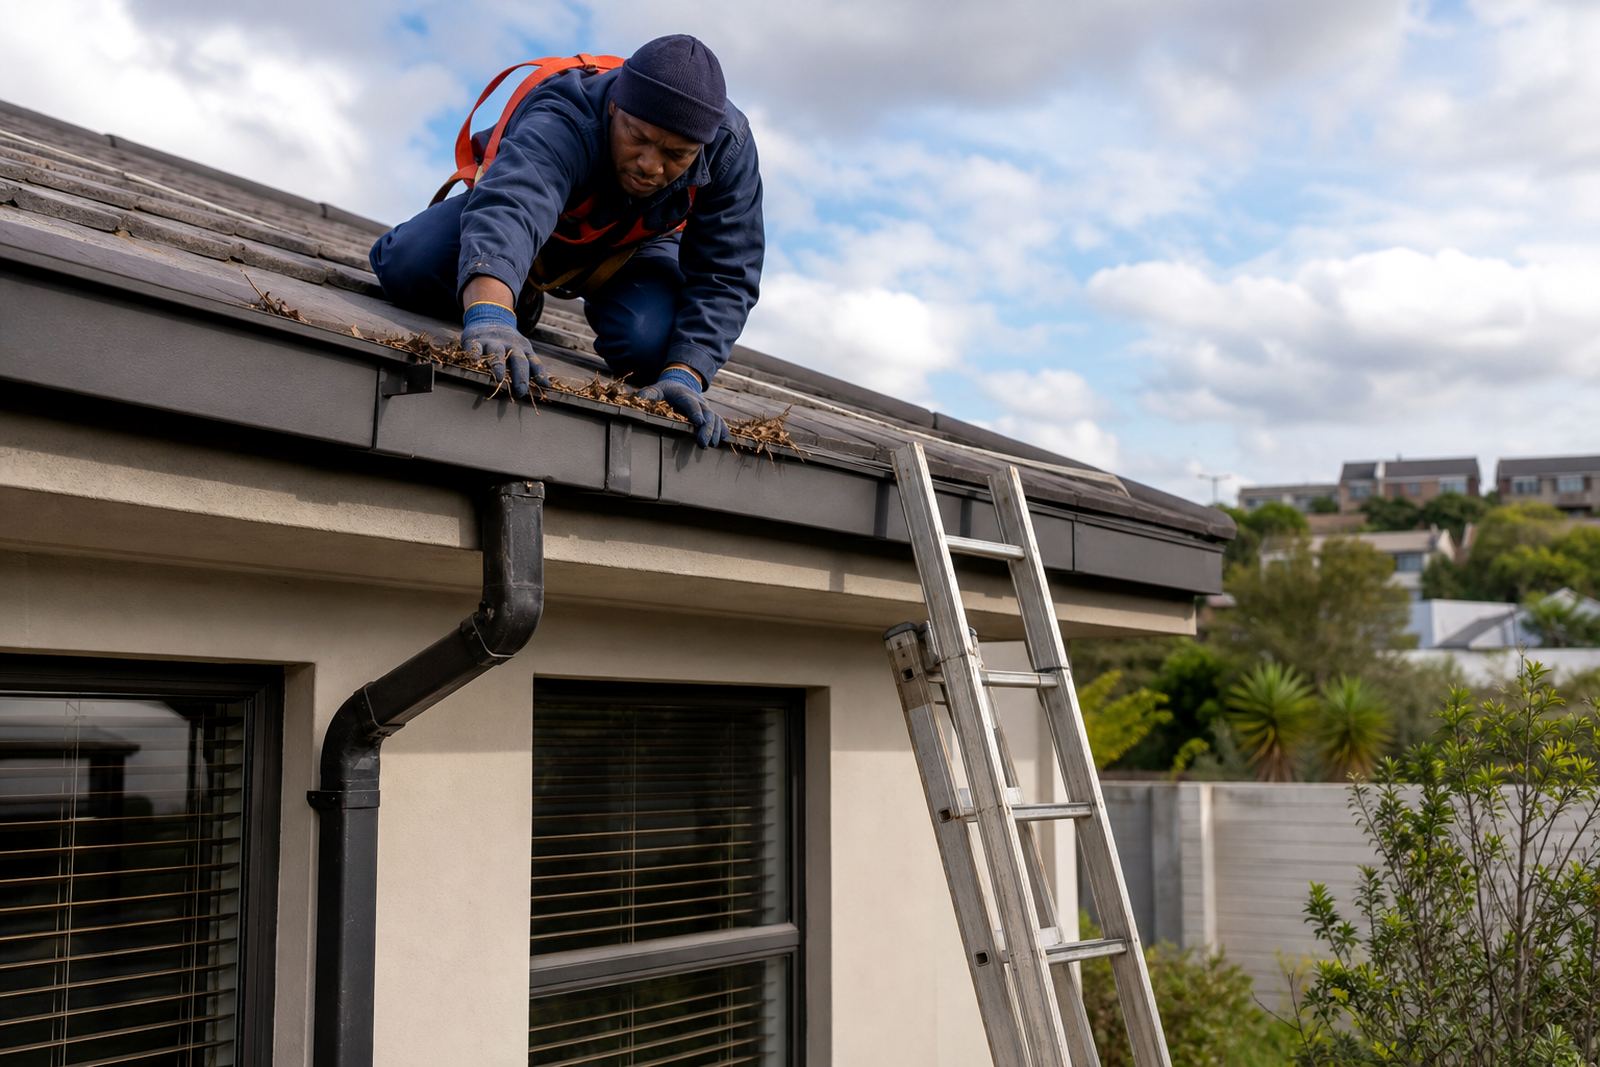
Bracket spacing matters because gutters carry water, leaves and sometimes debris after storms. Measure where the brackets can sit into sound backing so they are fixed securely along the fascia or supporting structure. Spacing should suit the gutter profile, the roof length and local wind exposure, especially in open areas around Pretoria, Polokwane and the Highveld where storms can hit hard.
If the fascia is uneven or the substrate is weak, note it on the checklist so the fixing method can be planned properly. Leave enough room for the installer to work safely along the roof edge and not force brackets into poor positions.
- Check for solid fixing points along the entire length.
- Note where existing fasteners, cracks or rot are visible.
- Allow extra care on long exposed runs and corners.
Quick checklist before materials are ordered
Before materials are supplied, review the sketch and measurements once more. Confirm the total gutter length, fascia cover area, number of corners, number of outlets and the approximate downpipe drops. Add any notes about access, high walls, paving, boundary lines or water discharge points.
A clear checklist saves time on site and helps the supply team prepare the right lengths and fittings. If the building is a home, townhouse, warehouse or retail unit, the same basics still apply: accurate lengths, correct falls, neat corners and safe access for the job.
- Total gutter length by section
- Fascia board lengths and cover width
- Corner count, outlet count and downpipe drops
- Any damaged or uneven sections that need attention