
Start With the Timber That Holds Everything Up
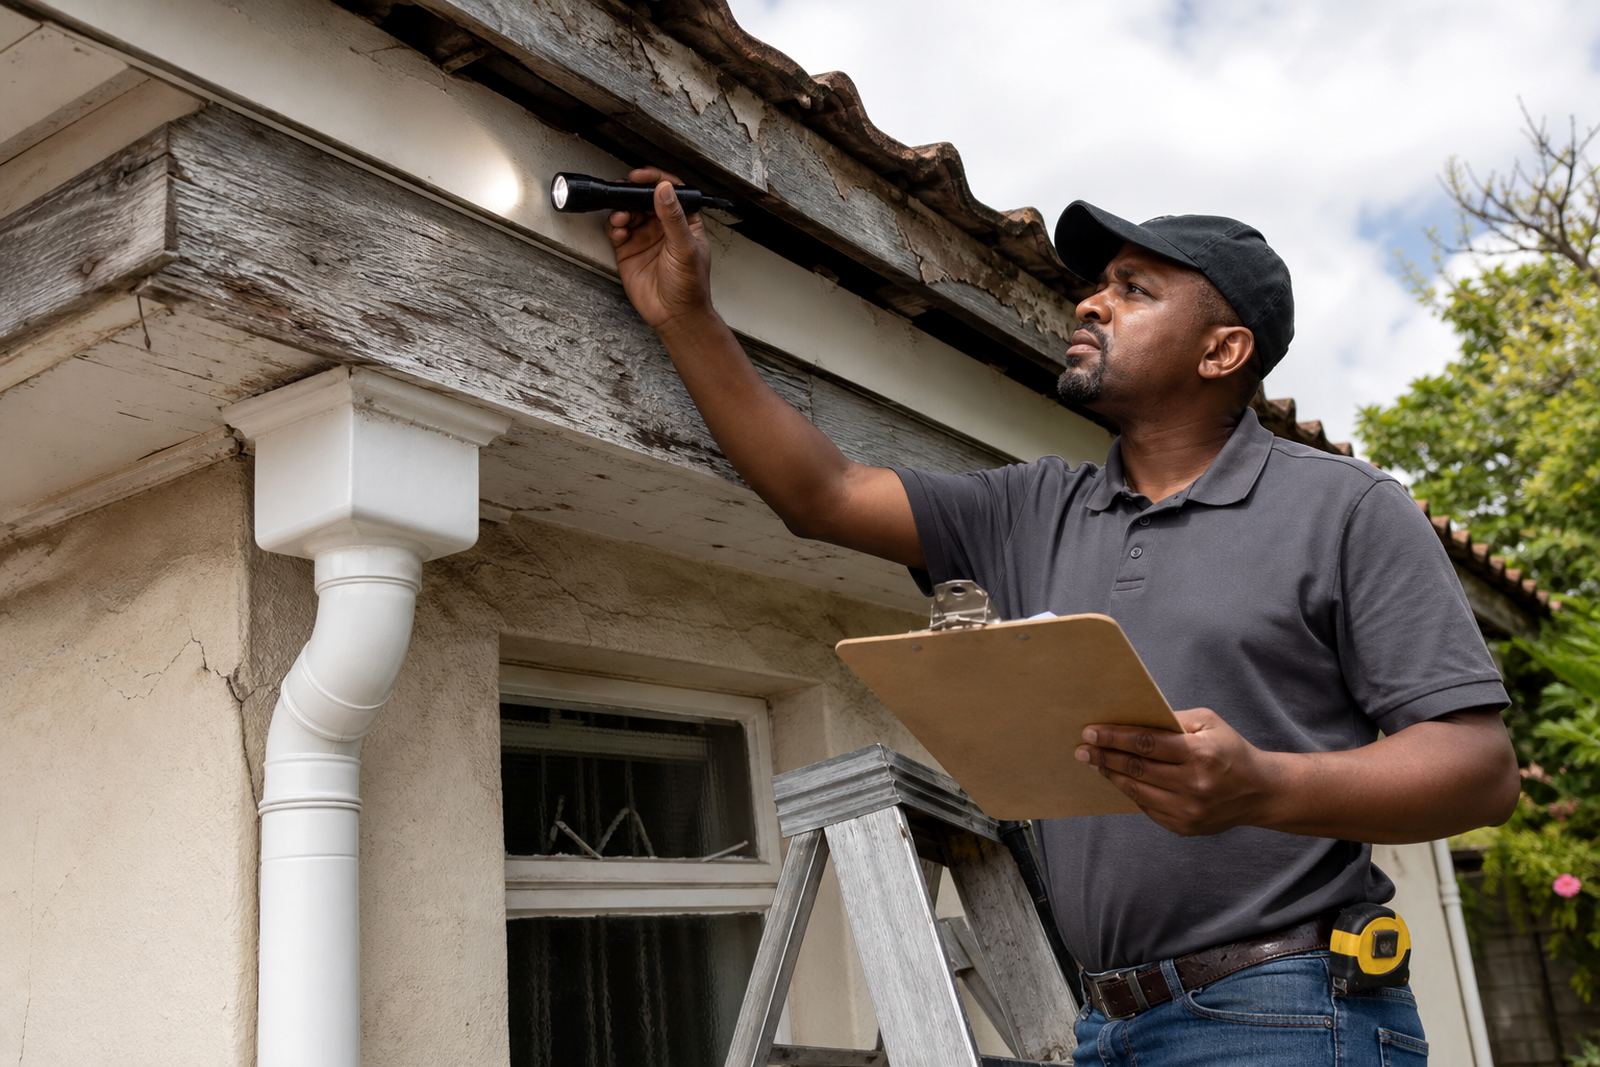
Before any gutter or fascia replacement, inspect the timber behind the roof edge. If the rafter ends, barge boards or branderings have softened from water entry, the new materials may look neat but the support will still move. Check for rot, splitting, nail pull out and areas where birds or damp have opened the woodgrain. In coastal towns the salt air speeds up weathering, while inland heat can dry out timber unevenly and create twist.
Measure the actual line of the eaves, not only the old boards. A roof edge that has dipped in the middle will affect the gutter fall and the position of brackets. If the timber is uneven, the installer may need to pack, straighten or replace sections before fastening new fascia boards. That extra step saves later leaks, ponding and joint stress.
- Probe hidden timber ends near corners and joins
- Check for water marks under the old gutter line
- Look for loose nails, rusty screws and cracked paint at board ends
- Confirm that the fascia face is straight enough for bracket alignment
Map the Rain Route Before Materials Are Ordered
Every renovation needs a clear route for rainwater. Find the discharge points first, then work back along the roof edge. Downpipes should empty where water can move away from the wall, not where it pools near paving, garages or boundary lines. In some municipal areas the discharge position matters if water can affect a neighbour or public footpath, so check the site layout before fixing anything.
Gutter sizing should match the roof area and the local rain pattern. A small patio roof can take a lighter profile, while a long pitched roof in a heavy downpour area needs better capacity and properly spaced outlets. The fall must be enough to move water toward the outlet without making the run look crooked. Too little fall leads to standing water, and too much fall can look uneven along the fascia line.
- Mark each outlet before cutting or joining sections
- Check where splashback will land after the downpipe discharges
- Allow for leaves, roof dust and seasonal storm flow
- Keep pipes clear of doors, walkways and painted wall surfaces
Measure the Bracket Spacing and Line the Run Properly
Bracket positions decide how long a gutter will stay true. Old fixings may not suit a new profile or a heavier water load. If brackets are too far apart, the gutter can sag between supports and hold water. If they are too close but uneven, the line may look lumpy and trap debris at each rise and dip. Good practice is to set the line from the highest point to the outlet, then place brackets evenly along that fall.
Check the existing spacing before removal. Renovation work often reveals hidden problems such as bent holders, cracked screws or fasteners that were installed into weak timber. On a long boundary wall in Randburg or a street-facing townhouse block in Pretoria, the eye sees a poor line immediately. Taking the time to set each point correctly gives a cleaner result and helps the gutter cope with summer storms.
- Use a string line or laser to confirm the gutter path
- Replace corroded brackets rather than reusing bent ones
- Keep join positions away from obvious low spots where possible
- Check that corners and stop ends are seated properly before sealing
Choose Fascia and Downpipe Sizes That Match the Job
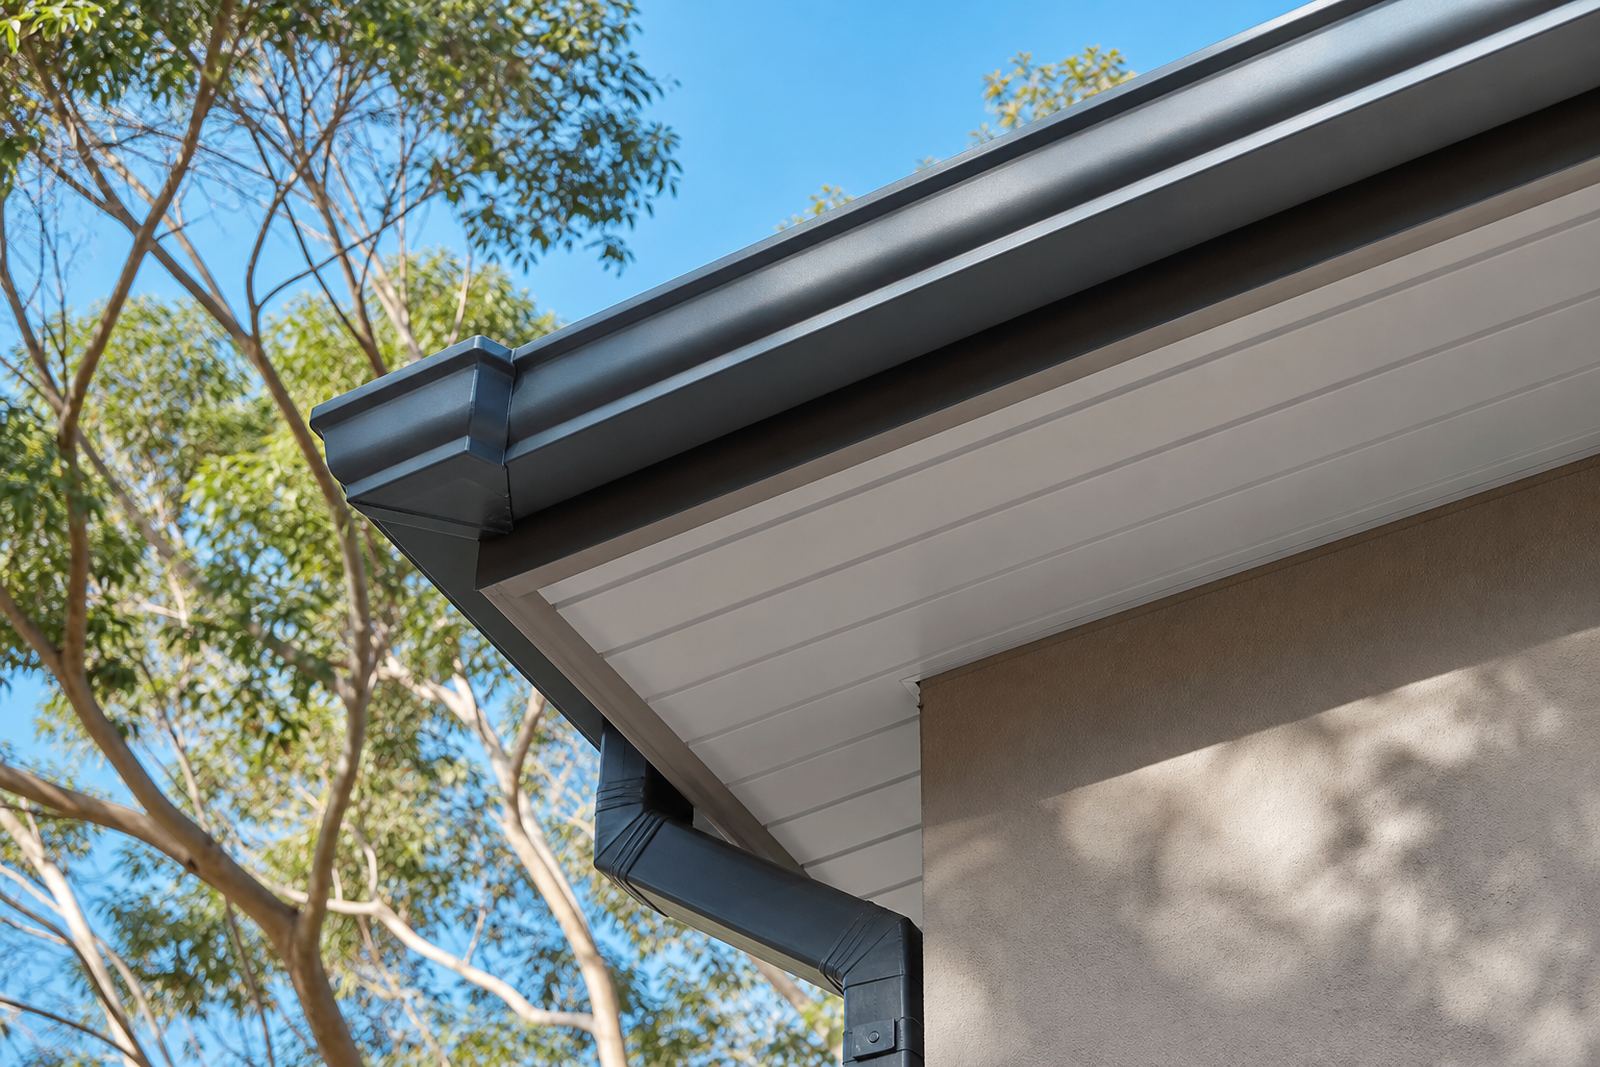
Fascia boards and downpipes should suit the roof, not just the old components that happen to be there. Wider roof edges and heavier storm flow need stronger support and enough outlet capacity. On a renovation, it is common to find that the old downpipe was undersized or that the fascia board had hidden water damage behind a fresh coat of paint. Replacing only the visible face can leave the same fault in place.
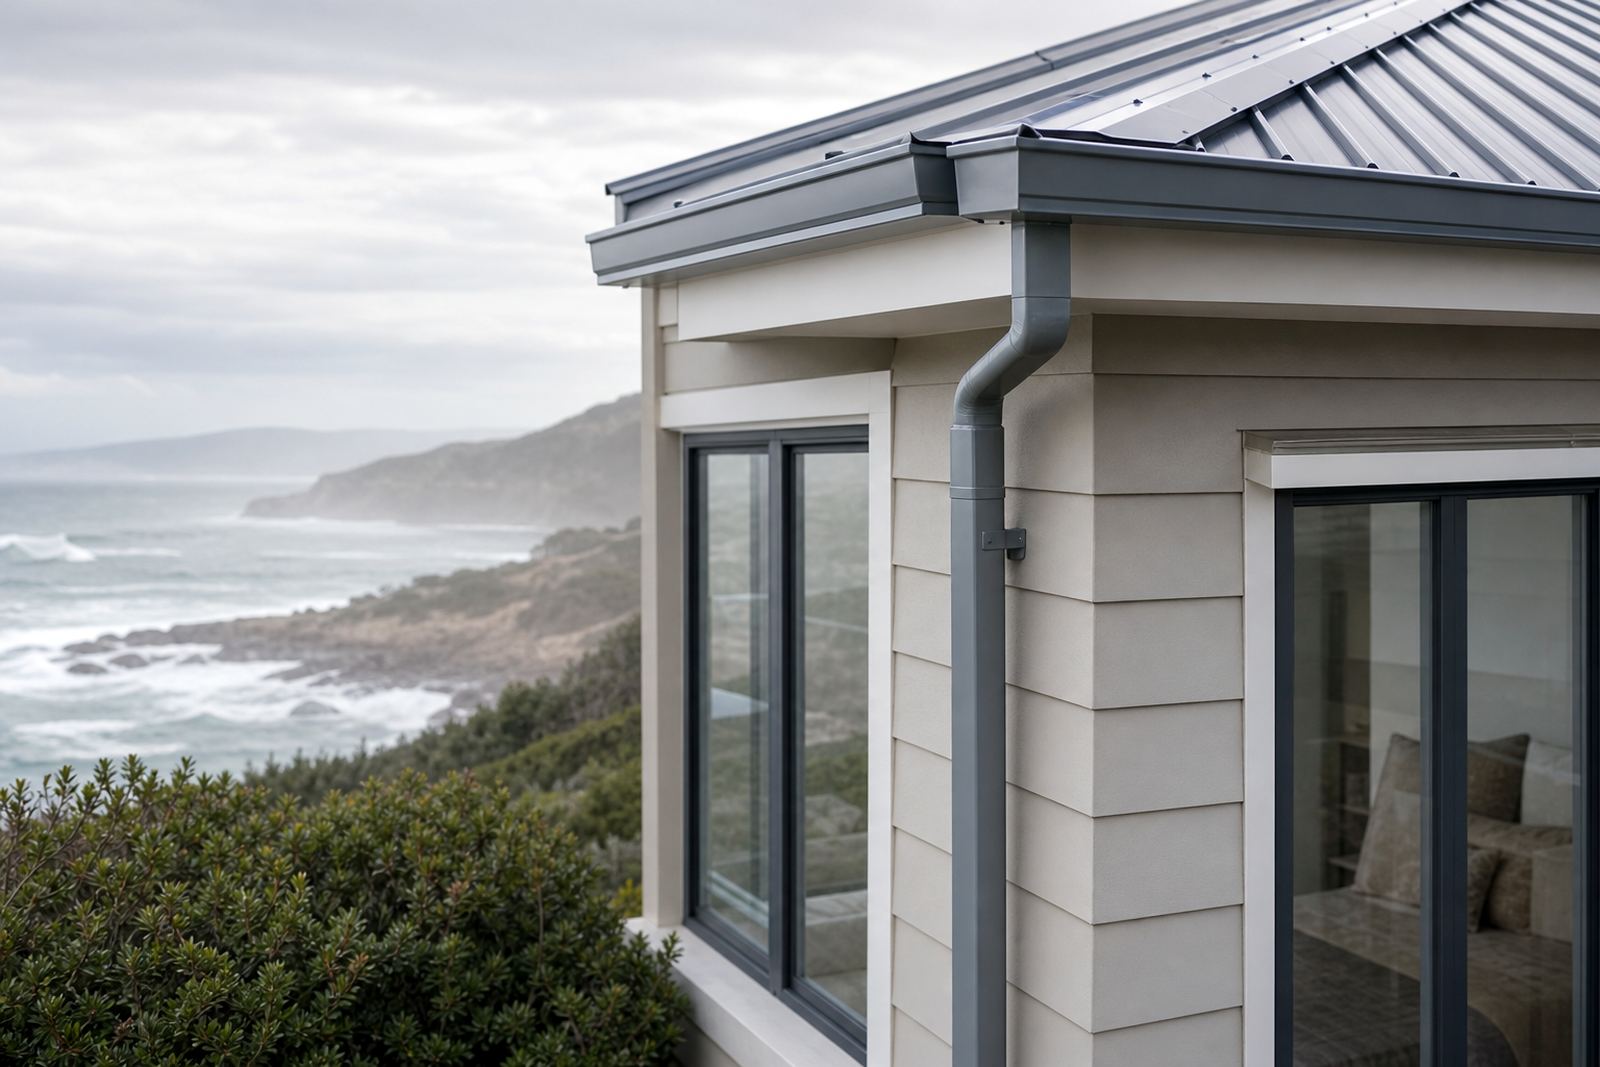
A useful site check is this: whether the gutter size suits the rainfall, whether the downpipe layout clears water fast enough, and whether the fascia stays firm at each fixing point. Where fascia boards meet corners, finishes must be neat and sealed so that water does not creep behind the board. On coastal homes from Cape Town to Durban, salt and moisture can be hard on exposed edges, so careful finishing matters.
- Match downpipe size to roof area and outlet position
- Use fascia sections that cover the timber and sit straight
- Allow for corners, joins and offsets without forcing the line
- Keep discharges clear of staining on walls and paving
Look for the Small Faults That Turn Into Leaks
Many renovation leaks begin with minor problems that are easy to miss. A small gap at a join, a loose bracket, a cracked seal or a blocked outlet can all send water where it should not go. Before removing the old system, inspect the stains under joints, the paint blistering on the fascia and any damp patches below the downpipe. Those marks tell you where the water has been moving.
Where maintenance is the only goal, a careful cleaning and re-sealing may be enough. Where the materials are tired, it is better to replace the affected length and not just patch around it. Roofline work at height must be done safely by competent people with the right access, tools and fall protection. It is not the place for a rushed ladder job. A tidy finish still needs proper fixing behind it.
- Clear leaves, grit and moss from the gutter channel
- Check outlet grates or guards for blockages
- Inspect sealant at corners and around outlets
- Look for rust marks, split ends and loose pipe clips
A Local Check Makes the Difference in Kya Sand and Beyond
A good renovation checklist works in Kya Sand the same way it does in Johannesburg, Polokwane or the coast, but the conditions change. In Randburg and Midrand, many projects involve older houses with patched roof edges and mixed materials from previous repairs. In Durban and Cape Town, humidity and wind-driven rain can expose weak joints faster. In Pretoria and Roodepoort, the challenge is often a roofline that has settled over time and no longer runs true.
For a small example, a homeowner in a townhouse complex may notice paint peeling below one corner every rainy season. The fix may not be the paint at all. It may be a short gutter run with the wrong fall, an outlet that is too far from the low point, or a downpipe that dumps water against the wall. Once the line is measured properly, the materials chosen to suit the roof and the brackets reset, the system works with less fuss. That is the kind of practical detail that saves repeat patching.
What to Carry Into the Renovation Brief
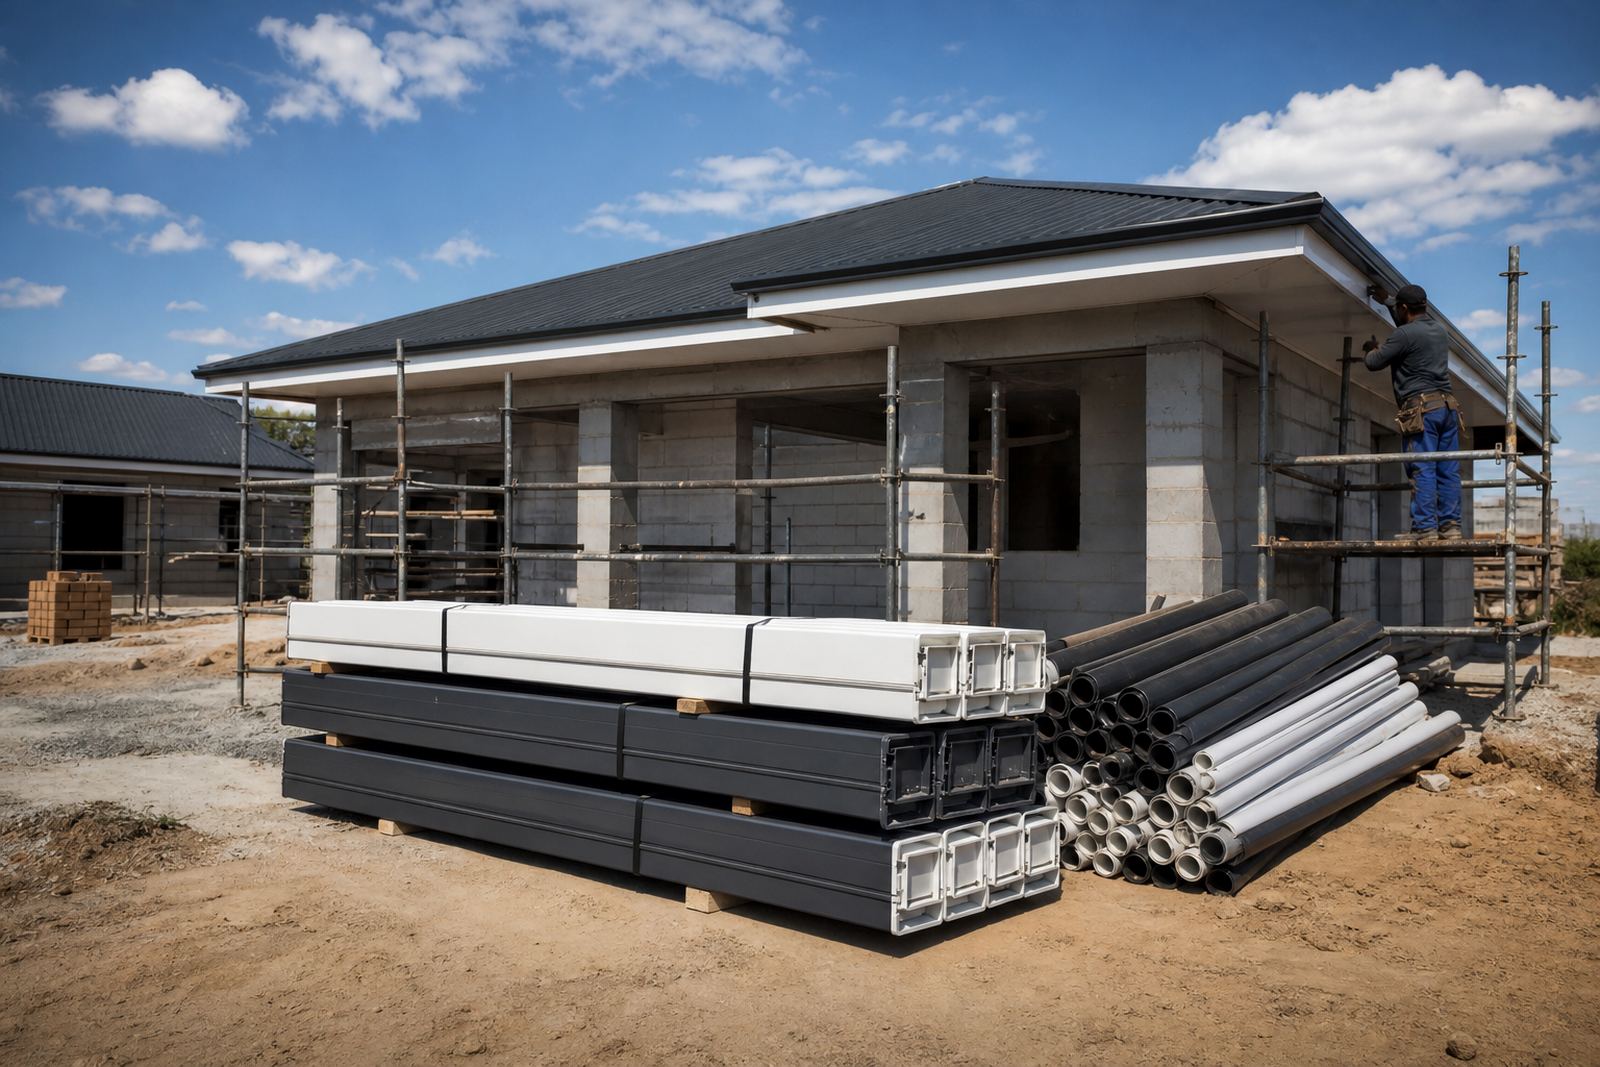
Before work starts, make a short written brief for the installer or supplier. It should cover the roof edge condition, the number of outlets, the expected discharge points and any areas where the wall line is out of square. It also helps to note whether the property is a home, a block of flats or a commercial building, because access, fixing points and drainage paths can differ. Builder support is smoother when measurements are clear from the start.
A useful checklist keeps the job moving and reduces wasted material. It also helps with delivery coordination, especially where the site is in a busy area with limited offloading space. If you are replacing the full roofline, include fascia installation, gutter installation and downpipe installation in the same plan so the work is matched properly from one end to the other.
- Roof edge length and height above ground
- Number of corners, outlets and downpipes
- Condition of timber and board supports
- Any leak points that need a closer check
- Preferred delivery or supply location