
Why the outlet belongs in the layout first
Outlet positioning should be decided before brackets go up or fascia lengths are cut. Once the outlet point is fixed, the gutter line, fall direction and downpipe route can all be measured from that point instead of being adjusted on site with too many joins.
On a typical house in Randburg or Midrand, a poorly placed outlet can leave water sitting in the gutter after a storm. That standing water brings dirt, moss and leaf matter with it, and in coastal towns like Durban the mix of salt and moisture can make blockages show up faster. A sensible outlet position helps the water move out cleanly and keeps the line looking orderly.
- Place the outlet where the gutter can drain with the shortest sensible run.
- Keep it clear of valley discharge points and areas that collect extra runoff.
- Allow enough space for the downpipe to drop straight down without awkward offsets.
- Match the outlet position to the roof pitch and the fascia line, not just to where the wall is convenient.
Reading the roof before the first bracket is fixed
Every roof edge behaves differently. A long eaves line on a commercial unit in Pretoria may need more than one outlet so water does not race to a single low point and overload one section of gutter. A smaller residential run in Kya Sand may only need one outlet per side if the fall is set correctly and the roof catchment area is modest.
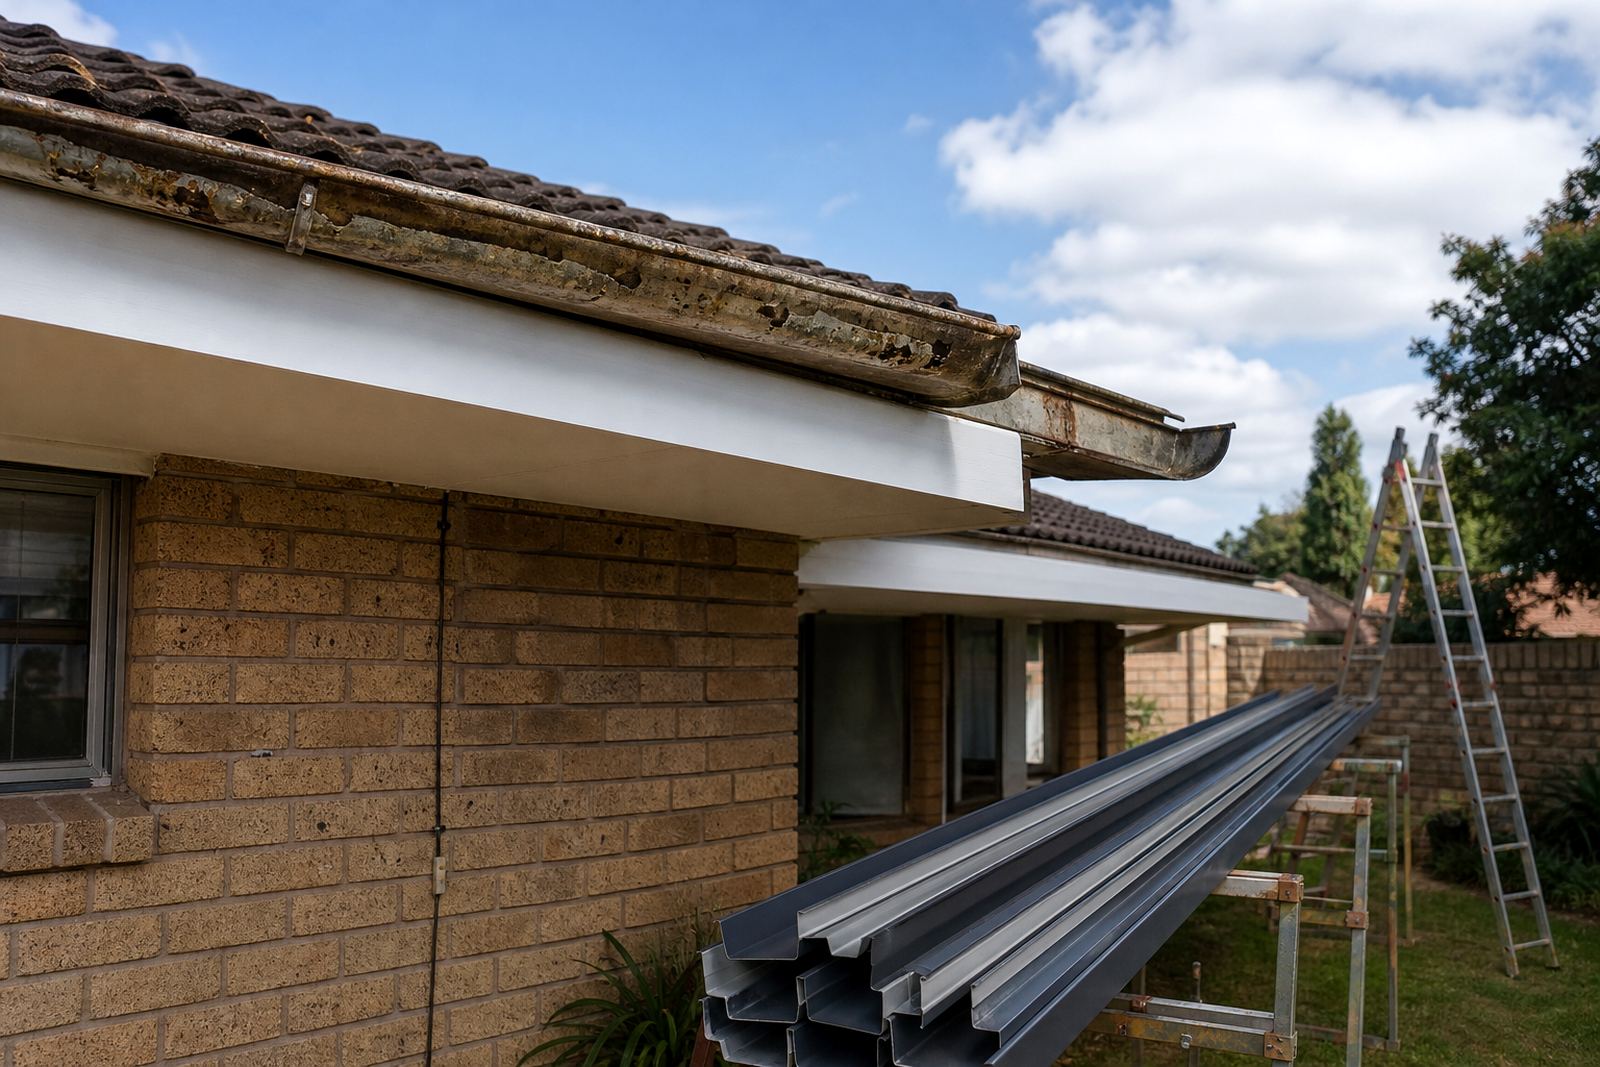
Before fitting anything, the installer should check the roof shape, the fascia straightness and where the water naturally gathers during a storm. If the fascia bows, the outlet can end up looking level while the rest of the gutter is not, which causes weak spots and puddling. At height, this work must be done safely by competent people using proper access and fall protection.
- Check whether the roof has hips, valleys or short return ends that add water load.
- Measure the fascia line for dips, twists or sections that need packing.
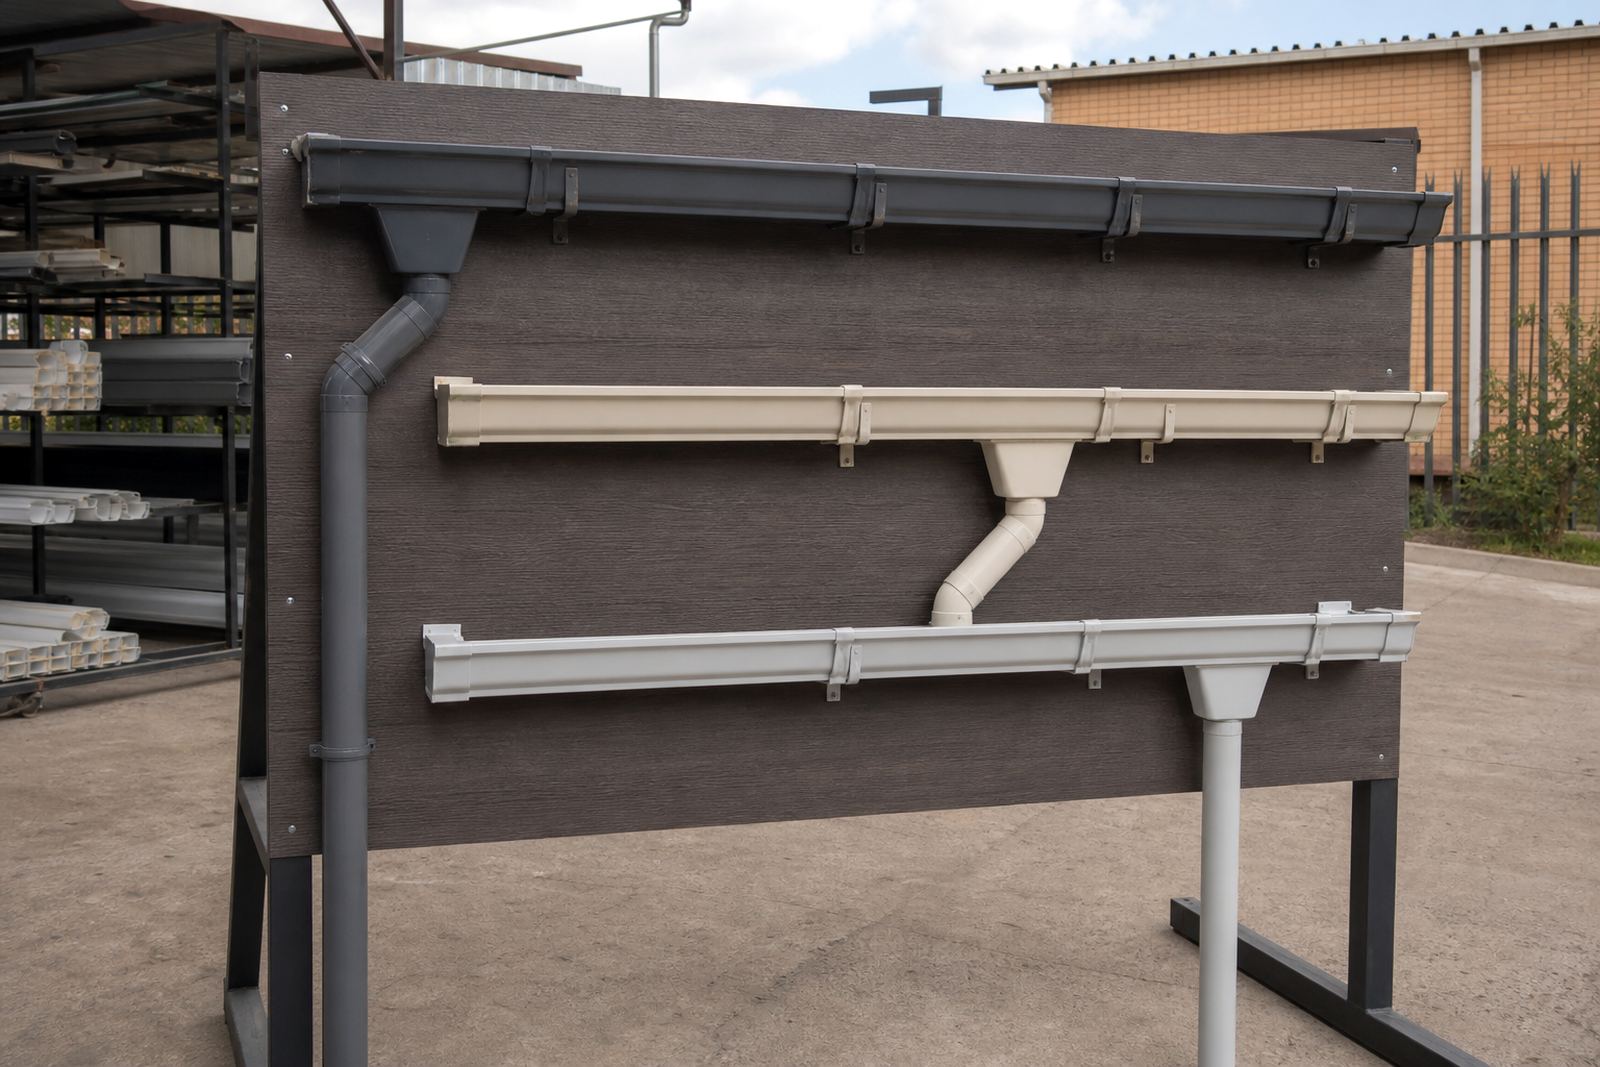
- Decide whether one central outlet or two end outlets will move water better.
- Mark bracket positions so the gutter fall stays consistent from end to outlet.
How outlet position shapes the downpipe route
The outlet is not only a hole in the gutter, it is the starting point for the downpipe route. If it sits too close to a corner, the pipe may need extra bends that slow flow and make the run harder to maintain. If it sits too far from the wall fixing line, the pipe can look clumsy and become vulnerable to knocks from passing vehicles, especially on commercial properties.
Good outlet placement keeps the downpipe short, straight and easy to inspect. In places like Roodepoort supply routes or Durban delivery sites, access to the wall and ground conditions matter as much as the gutter itself. A pipe that runs cleanly down the face of the building is easier to clear when leaves, sand or roofing grit build up inside it.
- Keep bends to the minimum needed to clear eaves and trims.
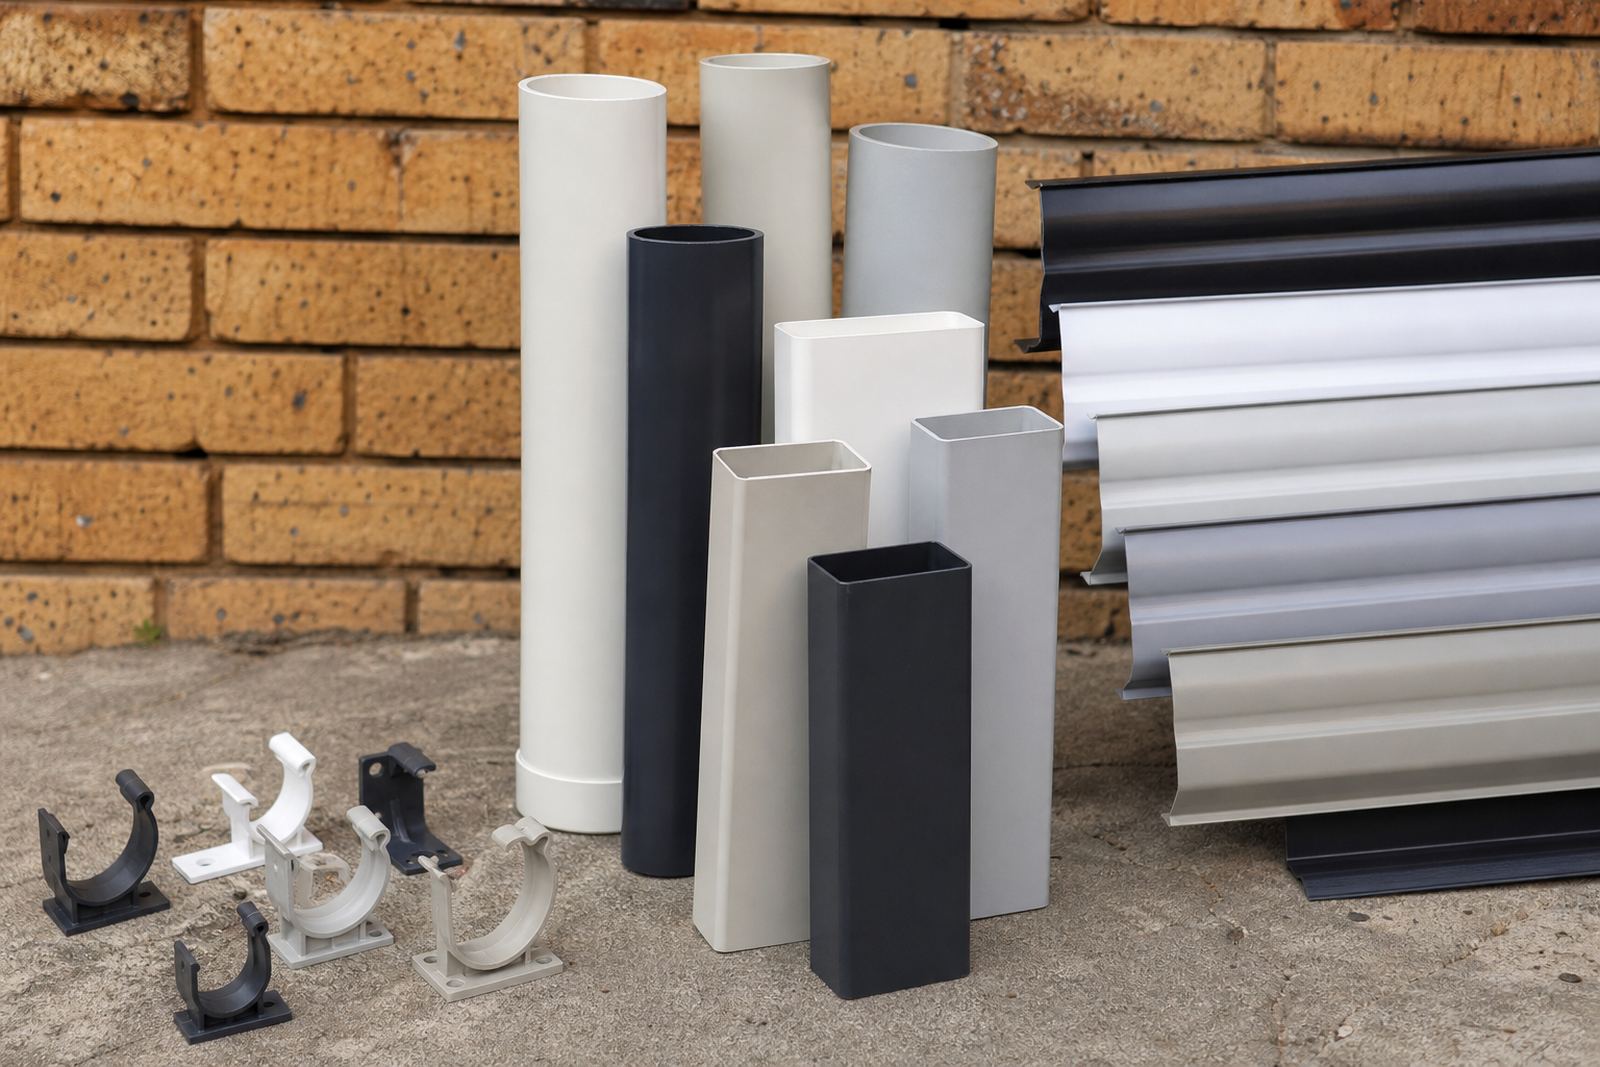
- Use wall clips at sensible intervals so the pipe does not sway in wind.
- Route water away from paving edges, entrances and load-bearing soil areas.
- Leave enough access at the bottom for cleaning and inspection.
The balance between drainage and the building face
Outlet position also affects how the building looks. A downpipe that lands in the wrong place can break the clean rhythm of the elevation, especially on neat facebrick homes and shopfronts. When the pipe line is planned with the fascia and gutter together, the roof edge stays tidy and the outlet is less noticeable.
That said, visual balance should never override drainage. If the best outlet point is slightly off centre or set a little wider than the eye expects, that is often the better choice. Water must move first, and the neatness of the line should support that rather than fight it.
- Align the outlet with wall columns, corners or service lines where possible.
- Avoid placing a pipe where it blocks gates, windows or frequent walkways.
- Keep the outlet close enough to the gutter run that water does not travel too far before discharge.
- Use matching colours and straight fixing to keep the pipe line calm against the wall.
Sizing, falls and flow at the outlet
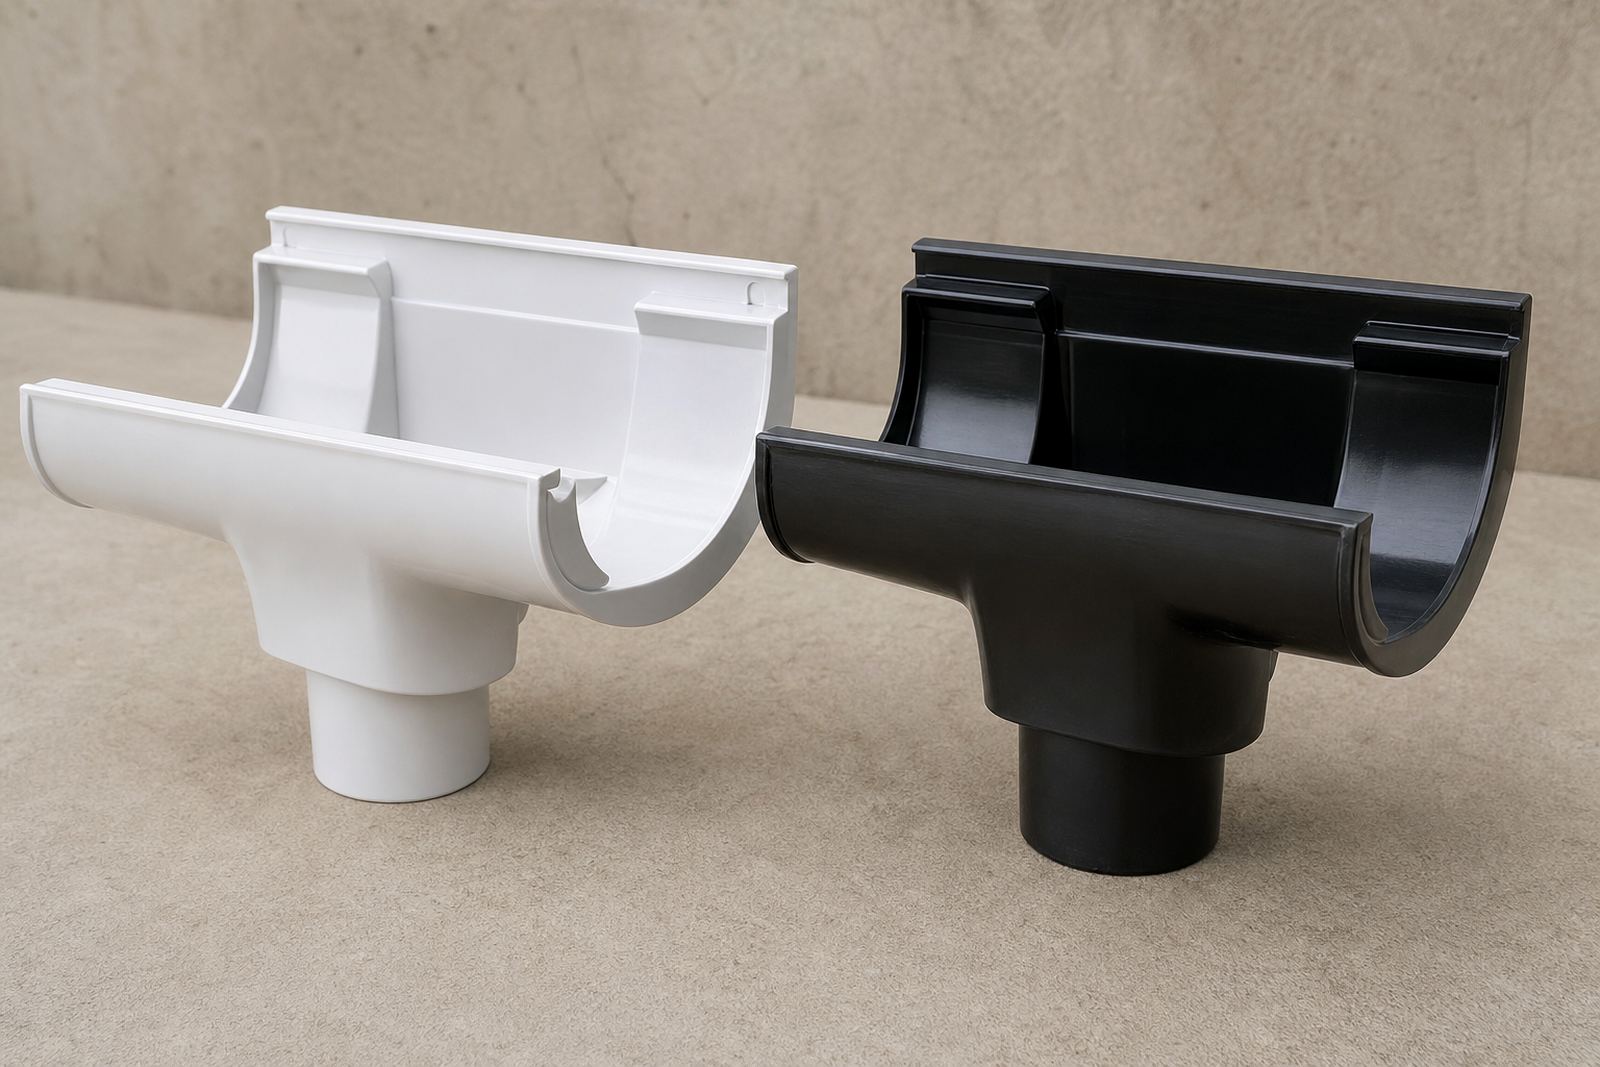
Outlet position and outlet size work together. A gutter with enough fall but a small outlet can still back up during a heavy downpour. A large outlet in the wrong place can also leave stagnant corners at the opposite end. The installer needs to match the outlet opening, the gutter profile and the expected roof area so the flow stays controlled.
As a rule, the run should fall gently towards the outlet so water does not sit in the channel. The fall does not need to look dramatic, but it must be consistent. Brackets help hold that line in place. If they are set unevenly, the gutter can twist and the outlet will no longer be the true low point.
- Set the outlet at the lowest practical point on the run.
- Keep the gutter fall steady from the high end to the outlet end.
- Make sure the opening is not reduced by sealant, swarf or rough cutting.
- Choose the outlet position with the roof area and rainfall load in mind.
Local example from Kya Sand to the coast
A practical example helps. A builder in Kya Sand may be finishing a light industrial unit with long straight roof edges and limited wall interruptions. In that case, the outlet can often be placed near a service-friendly wall line so the downpipe drops straight and the maintenance team can clear it without fuss. The same approach may not suit a coastal home in Durban, where wind-driven rain and salt exposure call for a cleaner drainage path and easier inspection points.
For homeowners in Cape Town or Polokwane, the outlet position should also reflect the roof shape and local weather patterns. Cape Town can throw strong winter rain across an elevation, while Polokwane often deals with sudden summer storms that test every joint. A careful outlet position helps the gutter empty fast and keeps the fascias, brackets and wall finishes in better order over time.
- Use one plan for water flow, one for fixing points and one for access after installation.
- Check the final outlet against the actual roof edge, not just the drawing.
- Plan for maintenance visits, especially where trees, dust or sea air affect buildup.
Keeping the outlet clear after the job is done
Outlet positioning matters long after installation because it affects how easy the system is to service. If the outlet is tucked into a hard-to-reach corner or hidden behind cluttered roof detail, cleaning becomes slower and blockages are more likely to stay in place. A straightforward outlet arrangement makes maintenance checks quicker and more reliable.
A sensible maintenance routine should include clearing leaves, checking bracket tightness, looking for seal failure around the outlet and confirming that the downpipe still discharges freely. In coastal areas the inspection should also look for corrosion on fasteners and any buildup that narrows the flow path. A little attention after storms goes a long way.
- Inspect the outlet after first heavy rain to confirm the fall is working.
- Remove debris before it hardens into the outlet opening.
- Check that water is leaving the gutter at the intended point, not elsewhere.
- Review the downpipe route if repeated blockages appear in the same place.