
Where the weak points usually show up
A straight gutter run is fairly forgiving, but the moment it turns a corner or meets a downpipe, the work becomes more exact. That is because water slows down at corners, collects at joins and looks for any gap, rough edge or poor sealant line. If the gutter slope is wrong, the water can sit in one section and push moisture into the joint over time.
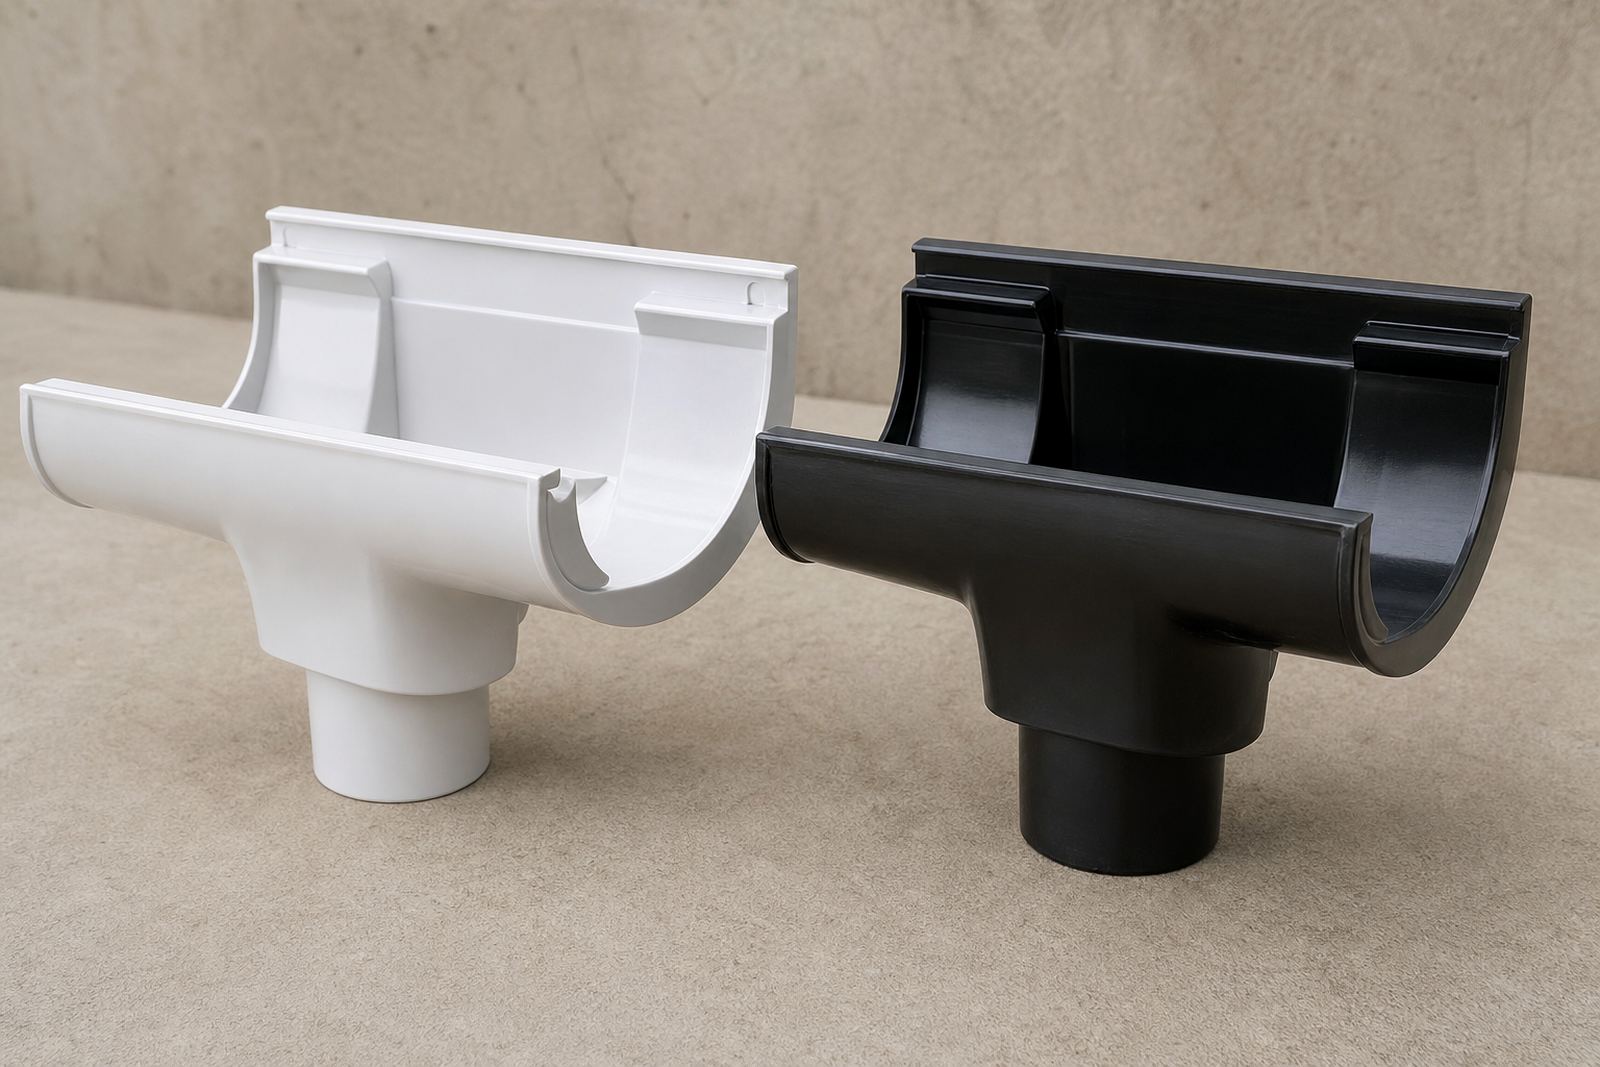
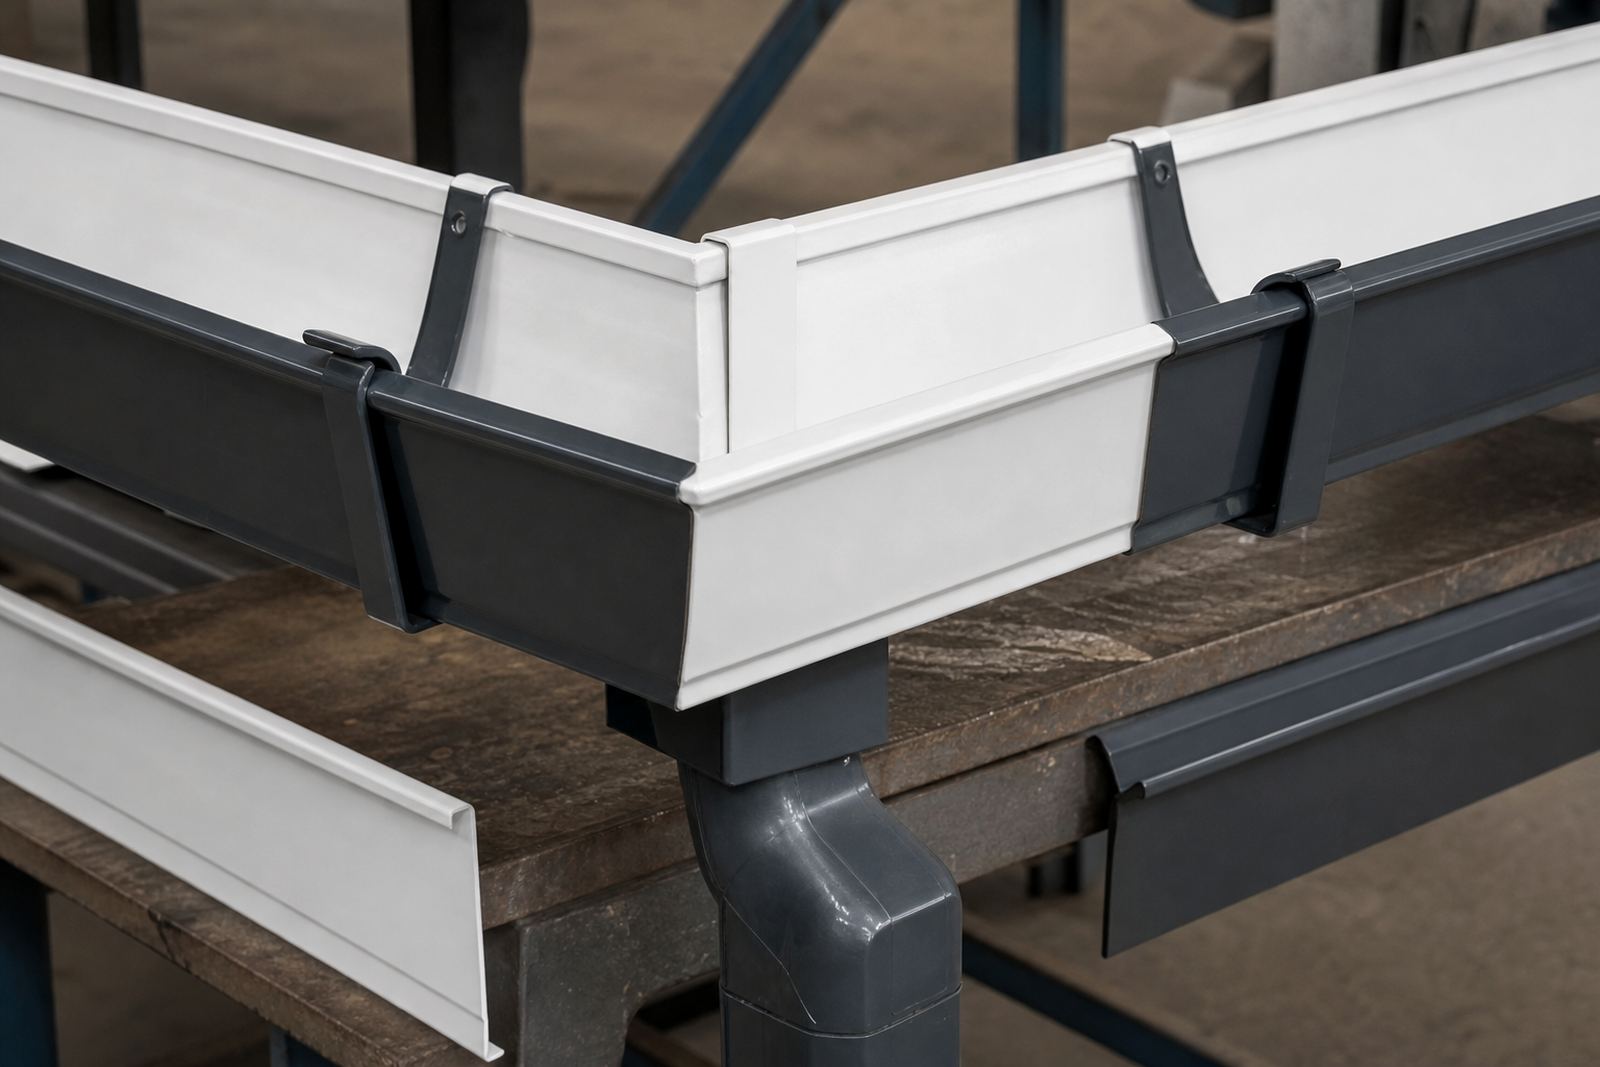
In homes and commercial buildings alike, the common trouble spots are internal corners, external corners, stop ends, outlet openings and the joint where a fascia board meets the roof edge. These are the places where a small mistake can turn into damp patches, staining on walls or overflow during heavy rain. A neat straight line is not enough if the corners do not match the fall and the brackets are spaced badly.
- Check that corner pieces are square before fixing them in place.
- Make sure sealant is continuous, not dotted or thinly spread.
- Confirm that the outlet position suits the gutter length and roof area.
- Look for movement at the joint after the first hard rain.
How sizing affects the joint line
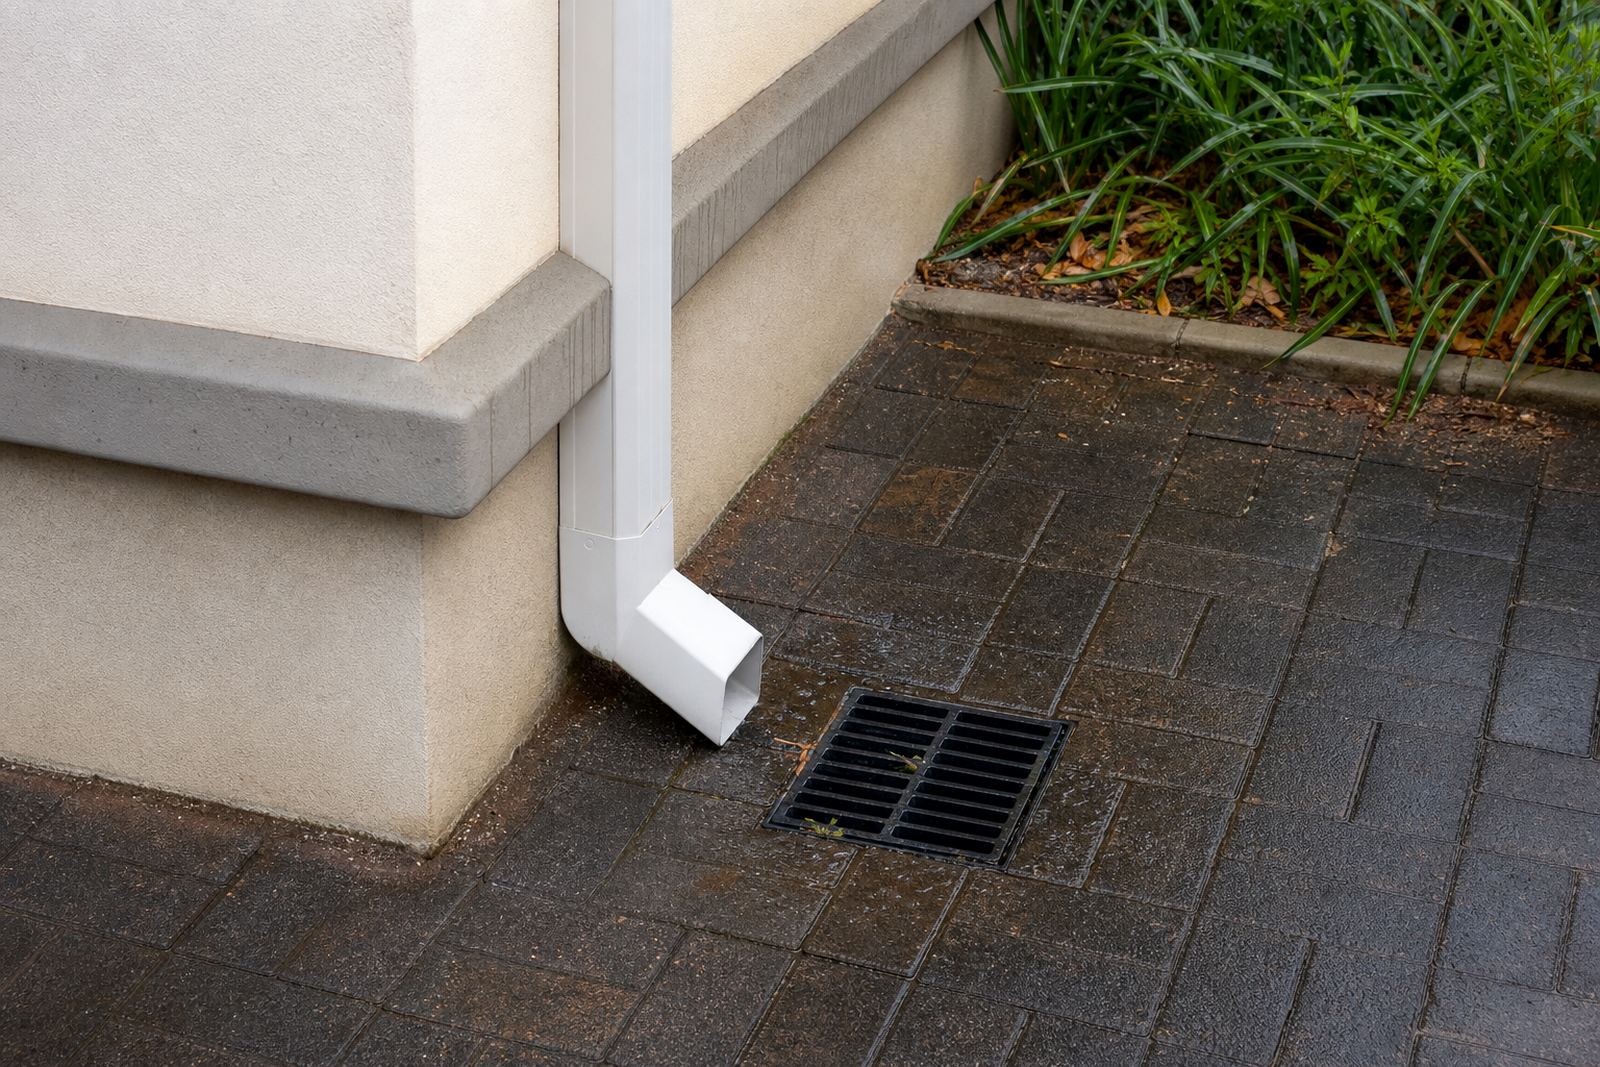
Gutter and downpipe sizes should suit the roof area, the pitch and the local rainfall pattern. A small run over a modest patio roof may work with a lighter section, but a larger roof area or a long valley discharge needs more capacity. When the size is too small, water backs up at the corners and the joint becomes loaded with extra pressure.
In South Africa, roofing on houses in Randburg is not the same as a coastal property in Durban or a large commercial roof in Pretoria. Wind-driven rain, summer downpours and dust all affect how corners and joints behave. A proper material takeoff helps match corner pieces, joiners and outlets to the actual roof line rather than guessing off a rough measure.
- Match gutter width to roof catchment area and slope.
- Use downpipe size that can clear peak flow from the outlet.
- Allow for extra corner pieces on L shaped or wrapped roofs.
- Keep joint positions where they can be inspected and serviced.
Falls that keep water moving
Every gutter run needs a sensible fall so water travels toward the outlet without sitting in low spots. If the fall is too flat, water lingers near the joint and dirt settles there. If the fall is too steep, the look becomes uneven and the run can strain at the brackets. The best result is a controlled slope that moves water while keeping the line neat along the fascia.
On longer roof edges, it helps to check the fall before final fixing. A gutter can look level from the ground but still dip at a corner once it starts carrying water. That is why competent roof work at height matters, especially where access is awkward or the roofline is high. Safety gear, stable access and careful positioning are part of the job, not an extra.
- Set the fall before final seal-up and screw fixing.
- Test the line with water after installation where possible.
- Watch for reverse falls near corners and outlets.
- Keep the profile neat so the gutter still sits snugly against the fascia.
Brackets do more than hold the line
Brackets carry the load of the gutter, the water inside it and the strain at each joint. Around corners, the load shifts, so support spacing matters more than many people expect. If brackets are too far apart, the gutter can sag between them and open up the joint line. If they are too tight or misaligned, the profile can twist and pull the corner piece out of square.
For fascia boards, bracket position also affects how the gutter presents against the roof edge. A board with poor support may flex after a season of heat and rain, especially on exposed roofs in places like Polokwane or coastal areas where humidity can be tough on fixings. Good spacing and clean alignment keep the whole run settled and easier to maintain.
- Place brackets closer together near corners and outlets.
- Fix to sound substrate, not soft or damaged timber.
- Check that bracket height matches the intended fall.
- Use enough support so the gutter does not bow after rainfall.
Sealant, joiners and the right fitting method
Corners and joins should be prepared properly before any sealing is done. Surfaces need to be clean and dry, and the fit should be checked before the final bead goes in. If a joint is forced into position, the seal may look fine for a while but fail once the material expands in the heat. On South African roofs, that daily movement is normal.
It is also worth treating internal and external corners differently. External corners often take direct runoff and need careful finishing at the outer edge. Internal corners can collect silt and leaf matter, so they should be shaped to encourage flow rather than create a pocket. Clean workmanship here saves the owner from repeated leak checks later.
- Dry-fit corners before applying sealant.
- Keep the mating faces clean from dust and oil.
- Do not overfill joints where water needs a clear path.
- Trim excess material neatly so debris cannot catch on it.
A Randburg roofline example
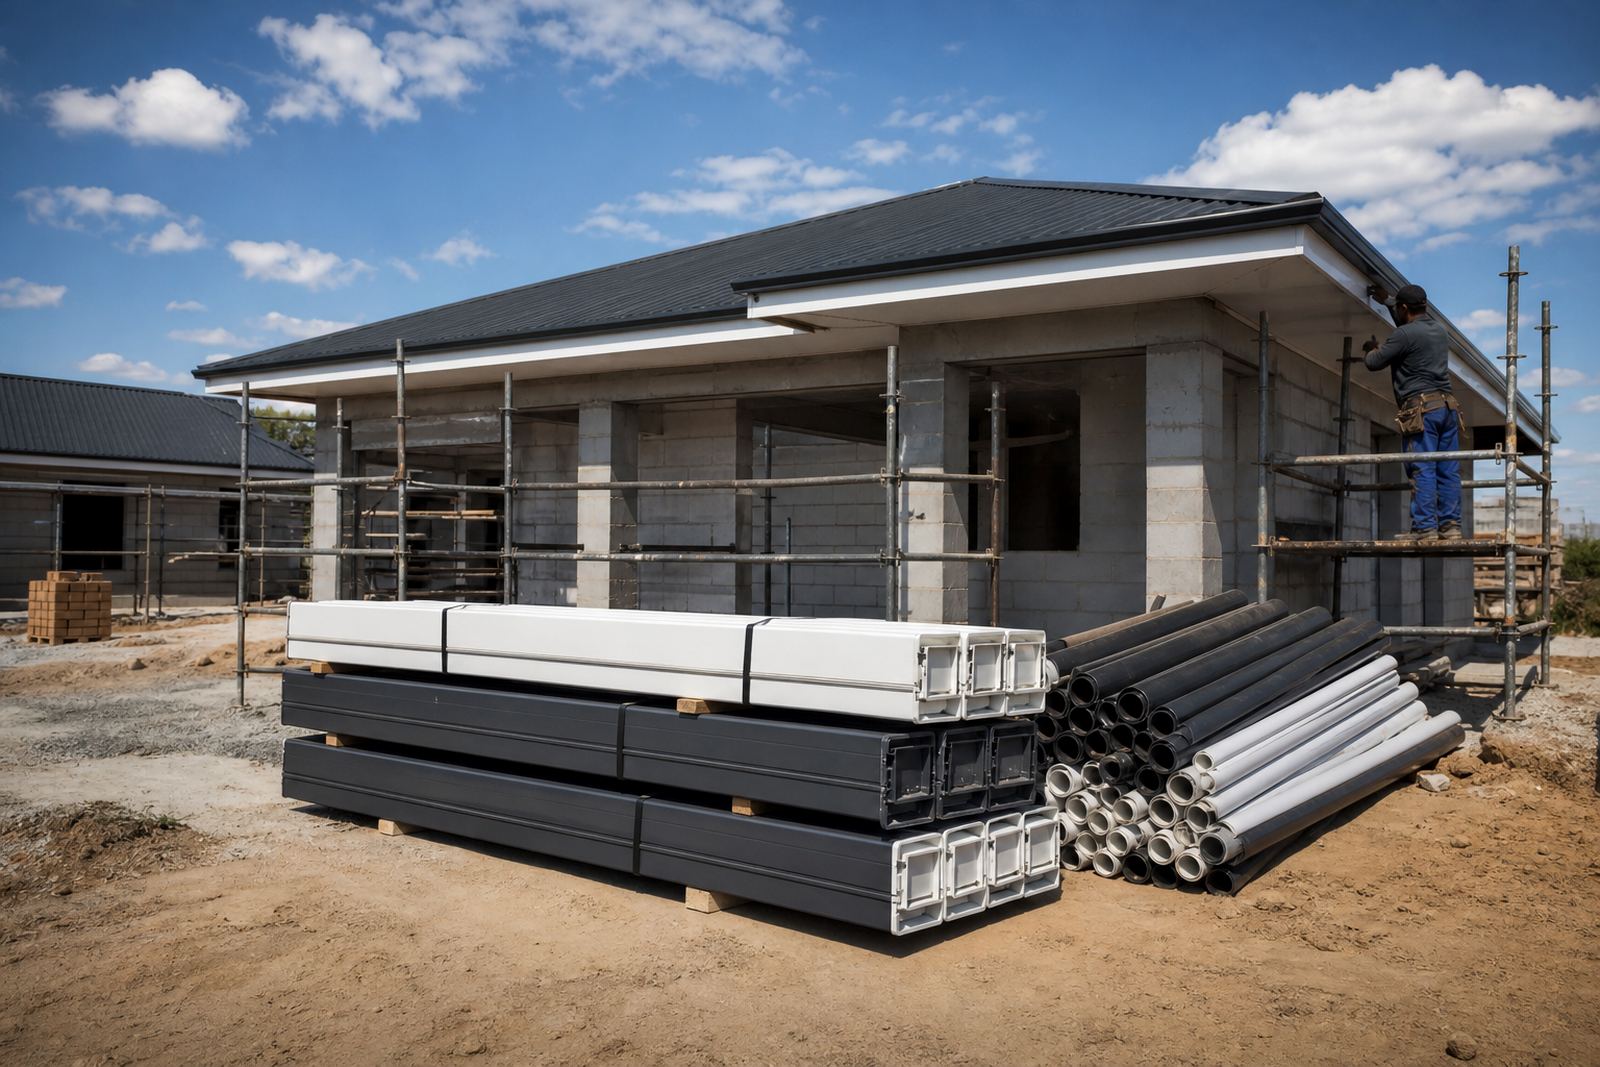
On a typical Kya Sand industrial unit or a freestanding home in Randburg, the roof edge often includes a mix of long runs, short returns and a few tight corners near parapets or porch sections. That is where measured planning makes the difference. A run that looks straightforward from the yard can need several corner pieces, extra support points and two or three outlet decisions once the roof is measured properly.
If the building faces strong afternoon sun and sudden summer rain, the joints need to cope with expansion and quick changes in water load. A maintenance visit after the first season can show where leaves collect, which brackets have shifted and whether any seal has started to lift. That practical check is often enough to prevent a small leak from turning into a wall stain or fascia repair.
For builders, the best approach is to plan corners with the rest of the roofline, not as a patch-up item on site. For homeowners, it helps to ask for a proper inspection of slope, joint position and outlet capacity before the work is closed in. Roofline work should always be done safely by competent people who can access the edge properly and fix each piece in line with the rest of the system.