
Start at the roof edge and work down
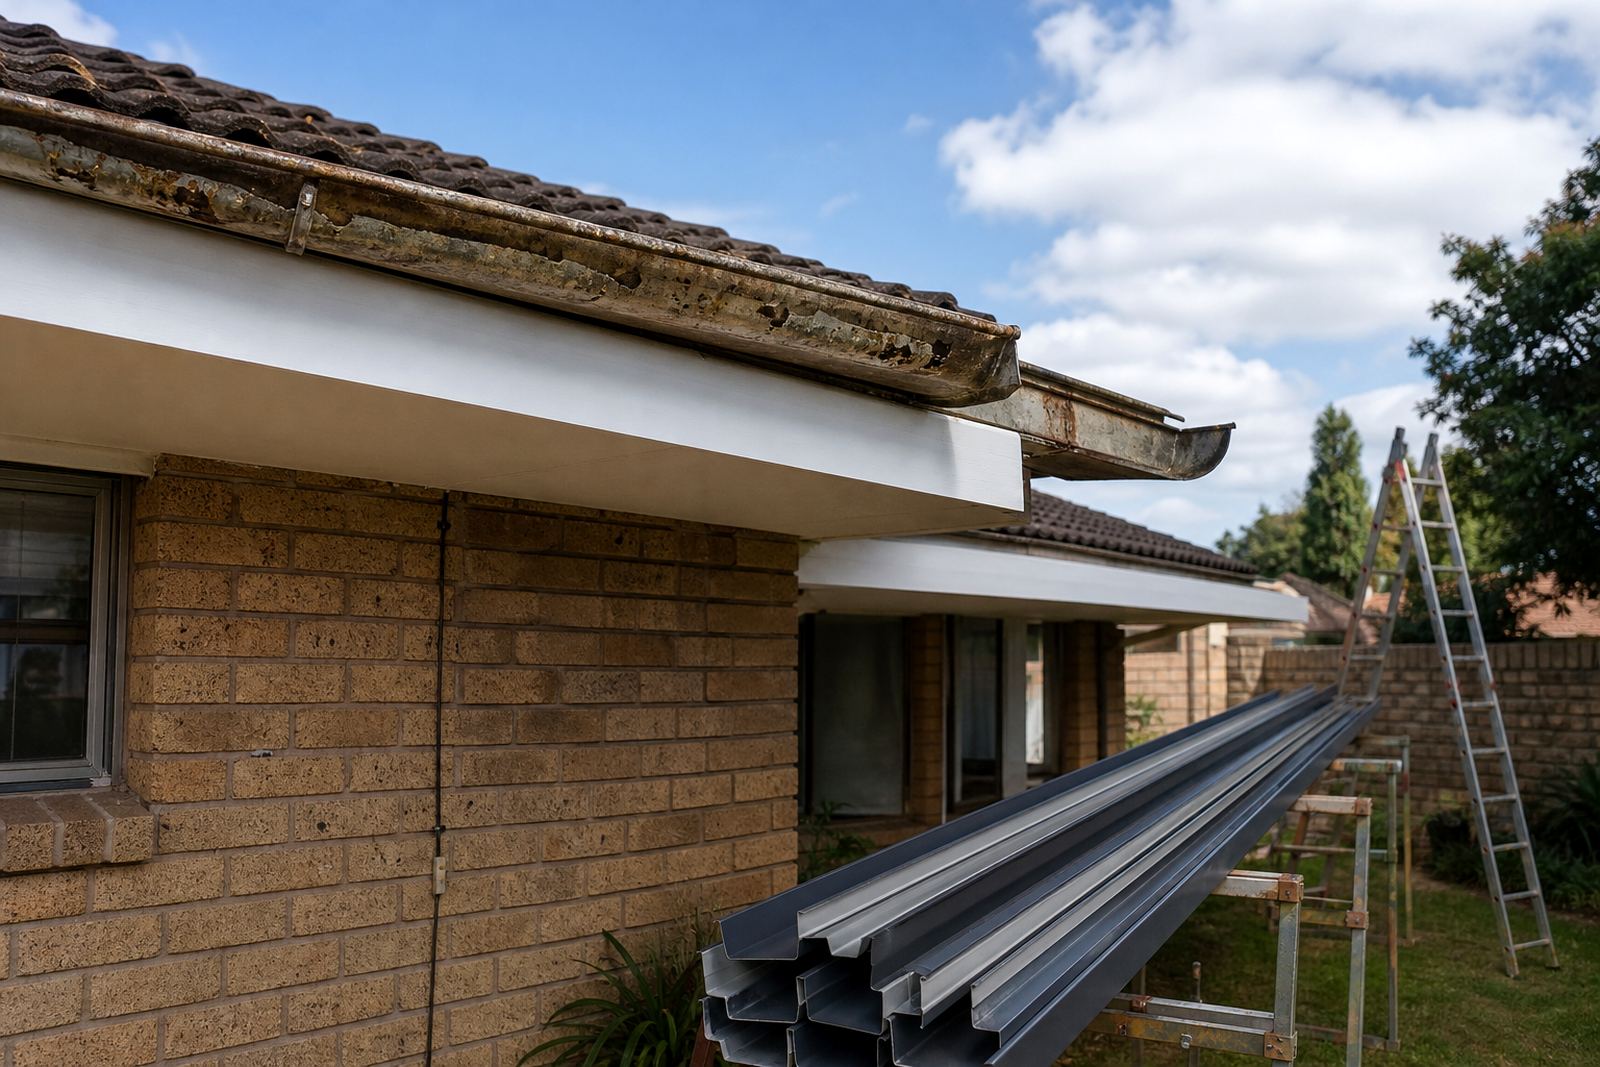
A downpipe check begins where the gutter feeds into the pipe. If the outlet is blocked by leaves, nest material or bits of roof debris, water backs up into the gutter and then spills over the edge. From there, inspect the full length of the pipe for dents, open joints and sections that are sitting out of line. In Kya Sand and the wider Randburg area, dust and wind-blown debris build up quickly, so even a neat roofline can hide a problem.
On single-storey homes it is often possible to follow the pipe by eye from the gutter outlet to the discharge point. On taller walls or commercial units, use competent people with the right access equipment and fall protection. Working at height is not a place for short cuts.
What to look for on the first pass
A quick visual check can tell you a lot before anyone starts opening joints or flushing the line. Look for water staining on the wall, rust around fixings, cracked brackets and sagging lengths that no longer run straight. If the pipe has been bent by a ladder, vehicle contact or settling ground, the water path can narrow and catch debris.
- Water marks below joins or around clips
- Loose straps, brackets or saddles
- Cracked bends at the top or bottom of the run
- Green growth, mud or leaves around outlets
- Sections that rattle in the wind
Pay close attention at wall corners and where the downpipe turns into a drain or stormwater connection. Those points see a lot of movement and are often the first place where a small fault turns into an overflow.
Blockages are common, but the cause is not always obvious
Many people only notice a downpipe issue when the gutter starts spilling in heavy rain, yet the blockage may be lower down in the pipe. Bird nests, roof grit, broken tile fragments and silt from the gutter can all settle in bends. In some cases a pipe looks clear from above but holds water because there is a sag or a hidden obstruction near the base.
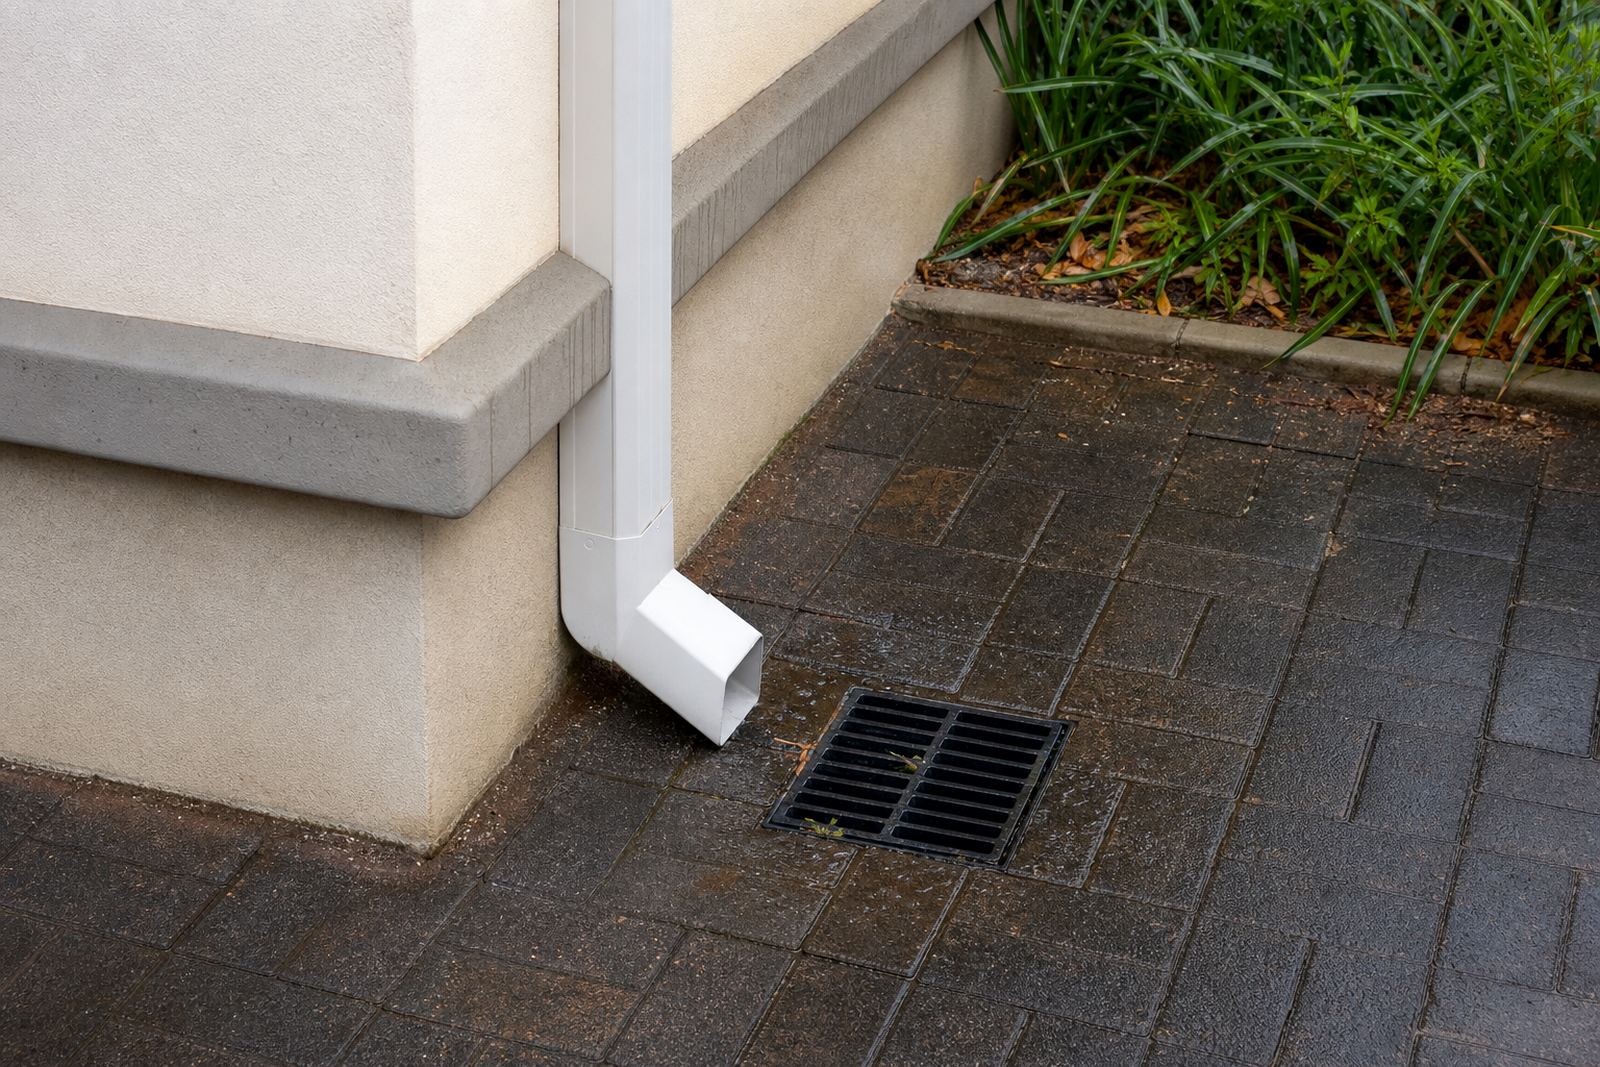
Where a pipe empties into a soakaway or stormwater line, check that the discharge point is still open. Soil wash, plant roots and debris can choke that outlet. In coastal towns such as Durban, salt air and moisture can also make fittings seize or stain more quickly, so the joints need a proper look during routine maintenance.
- Flush the line with controlled water flow after clearing loose debris
- Check both top and bottom bends, not only the visible middle section
- Make sure the outlet still discharges freely and does not splash back onto the wall
- Look for recurring dirt build-up, which often points to poor fall or a misaligned joint
Loose clips and failed fixings shorten the life of the run
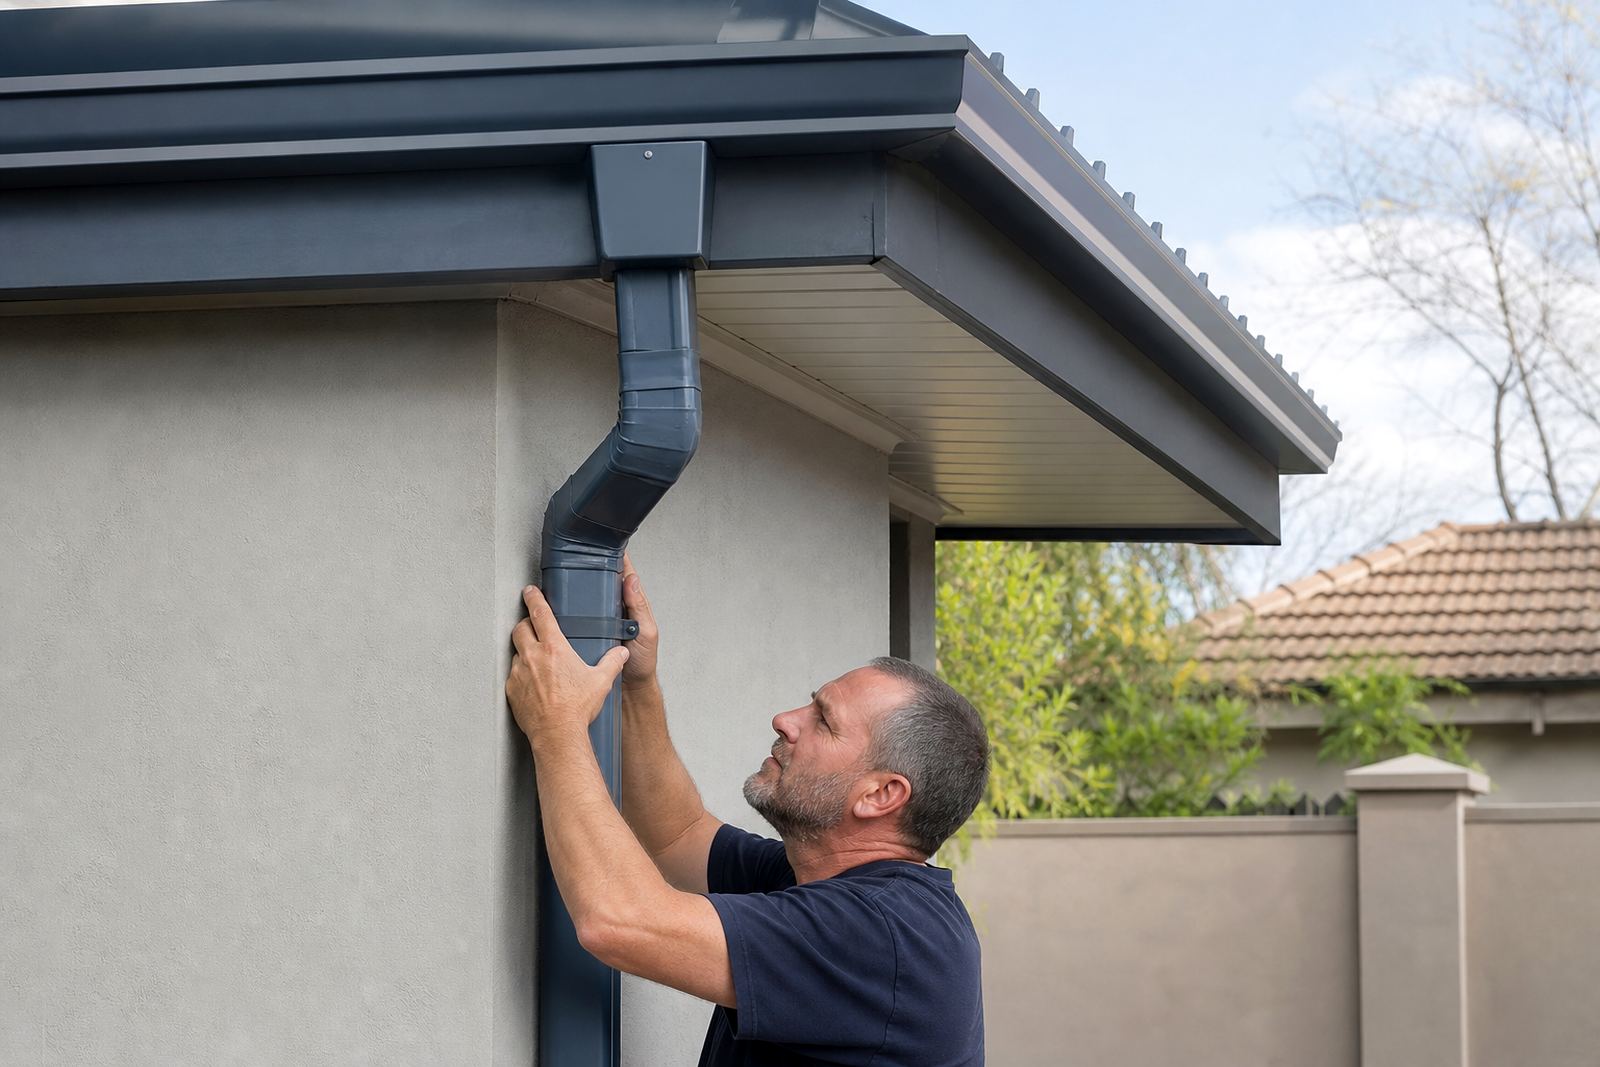
Downpipes rely on steady support. If clips are spaced too far apart, or if screws have loosened in masonry or timber, the pipe can move every time water rushes through it. That movement wears the joins and opens small gaps. Over time, those gaps leak down the wall and may stain paint, plaster or face brick.
Check that each bracket sits tight and that the pipe remains square to the wall. If the material has expanded or shifted with heat, the fixings may need rechecking after a hot season. A properly supported line should not swing in the wind or pull away when touched. For builders, it is also worth checking that the pipe layout matches the gutter outlet position so the water does not run across the fascia before entering the downpipe.
Damaged bends need more than a quick patch
The bends at the top and bottom of a downpipe take a lot of wear. Water speed changes direction there, so any dent, crack or misaligned join affects flow. A bend that looks slightly crushed can trap leaves and silt. If the pipe has been repaired with a loose offcut or a badly matched fitting, the same blockage will return after the next storm.
In practice, damaged bends are best treated as replacement parts rather than patch jobs. Matching the pipe size matters too. A pipe that is too small for the roof area will struggle in heavy rain, while one that is too large for the outlet and support points may sit awkwardly and look untidy. For many homes and light commercial buildings, the right answer is a clean, continuous run with neat bends and sensible support spacing.
A Randburg example that shows the value of routine checks
A townhouse complex in Randburg can look fine from street level, yet the first hard rain exposes what has been missed. In one common setup, leaves from nearby trees collect in the gutter, then wash into the first bend of the downpipe. The pipe still carries some water, so nobody notices until the wall below starts to show a damp line. A quick inspection found a loose clip near the top, a crushed bend at the base and a section that was holding water instead of draining freely.
After clearing the blockage and replacing the damaged bend, the line flowed properly again. The real lesson was not the repair itself but the routine check before the wet season. Builders and homeowners who walk the roofline system on a schedule are far less likely to deal with internal damp, peeling paint or soaked paving later on.
- Inspect before the heavy rains, not after the overflow
- Record repeat problem spots so the same fault is not missed again
- Confirm the discharge point still carries water away from walls and foundations
Keep the system clean without making extra work
Downpipe maintenance does not need to be complicated. A steady routine of clearing debris, checking clips and watching for slow flow will prevent most common faults. For gutter, downpipe and fascia systems, neat support and correct sizing matter just as much as the material itself. If any part is misaligned, water will show it very quickly.
For larger buildings, schools, complexes and retail units, maintenance visits are worth scheduling before storm season. On any roofline work, safety comes first, and people at height should have the right training, equipment and access method. A careful check today can save a lot of mess on the wall, floor and paving after the next storm.