
Start With the Roof Line and the Rain Water Path
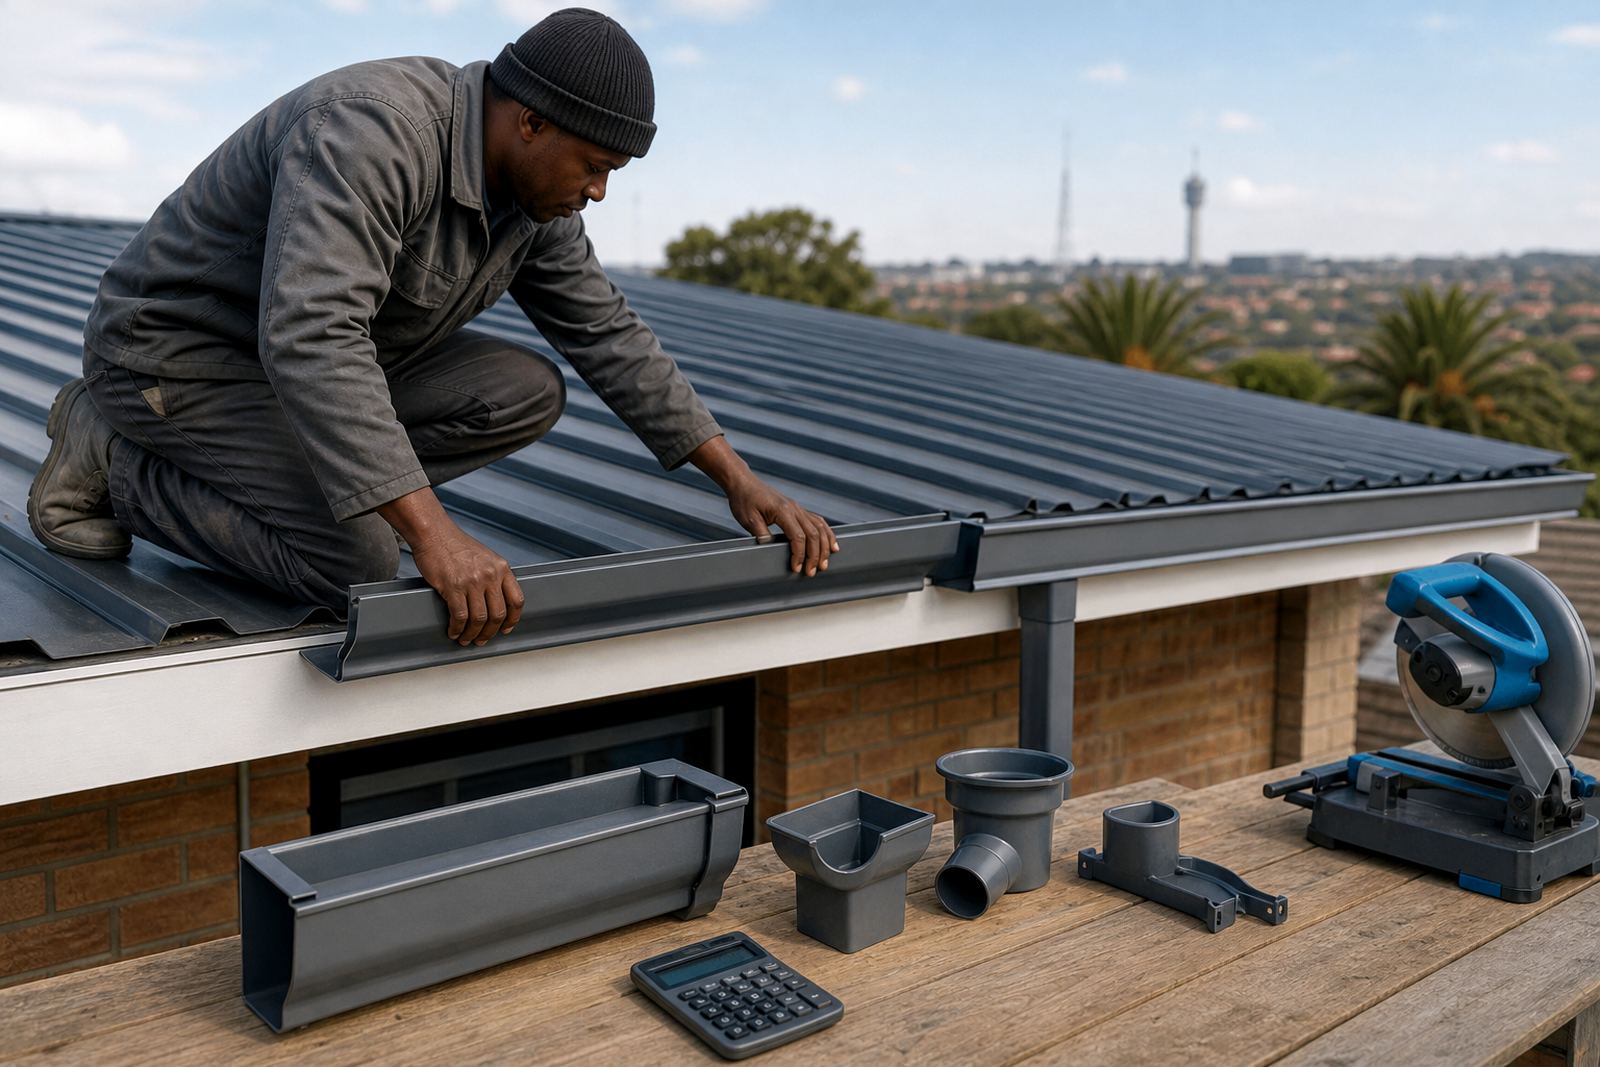
Before any gutter is fixed, look at how water leaves the roof sheets, tiles or fascia edge and where it can travel without pooling. A gutter run should be planned to move water toward the outlet in a controlled way, with the fall set along the full length of the run. On long eaves, the outlet position and the number of downpipes matter as much as the gutter profile itself.
For most domestic and light commercial rooflines, the gutter is set so the water travels to one end or to a centre outlet, depending on the roof shape and access for downpipes. If the line is too flat, silt builds up and the gutter overflows in heavy rain. If the fall is too steep, water can rush past debris but still leave standing water at low points where the support is weak.
Choosing the High Point and the Outlet Position
Every gutter run needs a clear high point and a low point. The high point is where the gutter starts nearest the far end of the run, then the line drops gently toward the outlet. This is practical on most straight eaves because the lowest point can be placed near a corner, a valley discharge point or a downpipe position that is easiest to service.
When planning the outlet, check what lies below it. A downpipe should not discharge where it splashes across paving, a boundary wall or a neighbour's property. On commercial roofs, the outlet should also work with the stormwater route and any municipal requirements for discharge. If there is a parapet or a boxed roof edge, allow enough room for brackets, joints and access for cleaning.
- Mark the start point, end point and outlet before cutting any gutter lengths.
- Check that the outlet lines up with a downpipe route that avoids awkward bends.
- Allow space for end caps, unions and bracket positions near joints.
- Where the roof is long, consider more than one outlet rather than forcing one run to carry everything.
How Much Fall to Allow on a Gutter Run
There is no one size for every building, but the fall must be enough for water to move and not so much that the gutter looks uneven from the ground. The right drop depends on the gutter profile, the length of the run and how quickly the roof catches water in heavy rain. On wider roofs in Gauteng, or coastal areas where downpours can be sudden, it is better to plan the fall carefully than to try and correct it later.
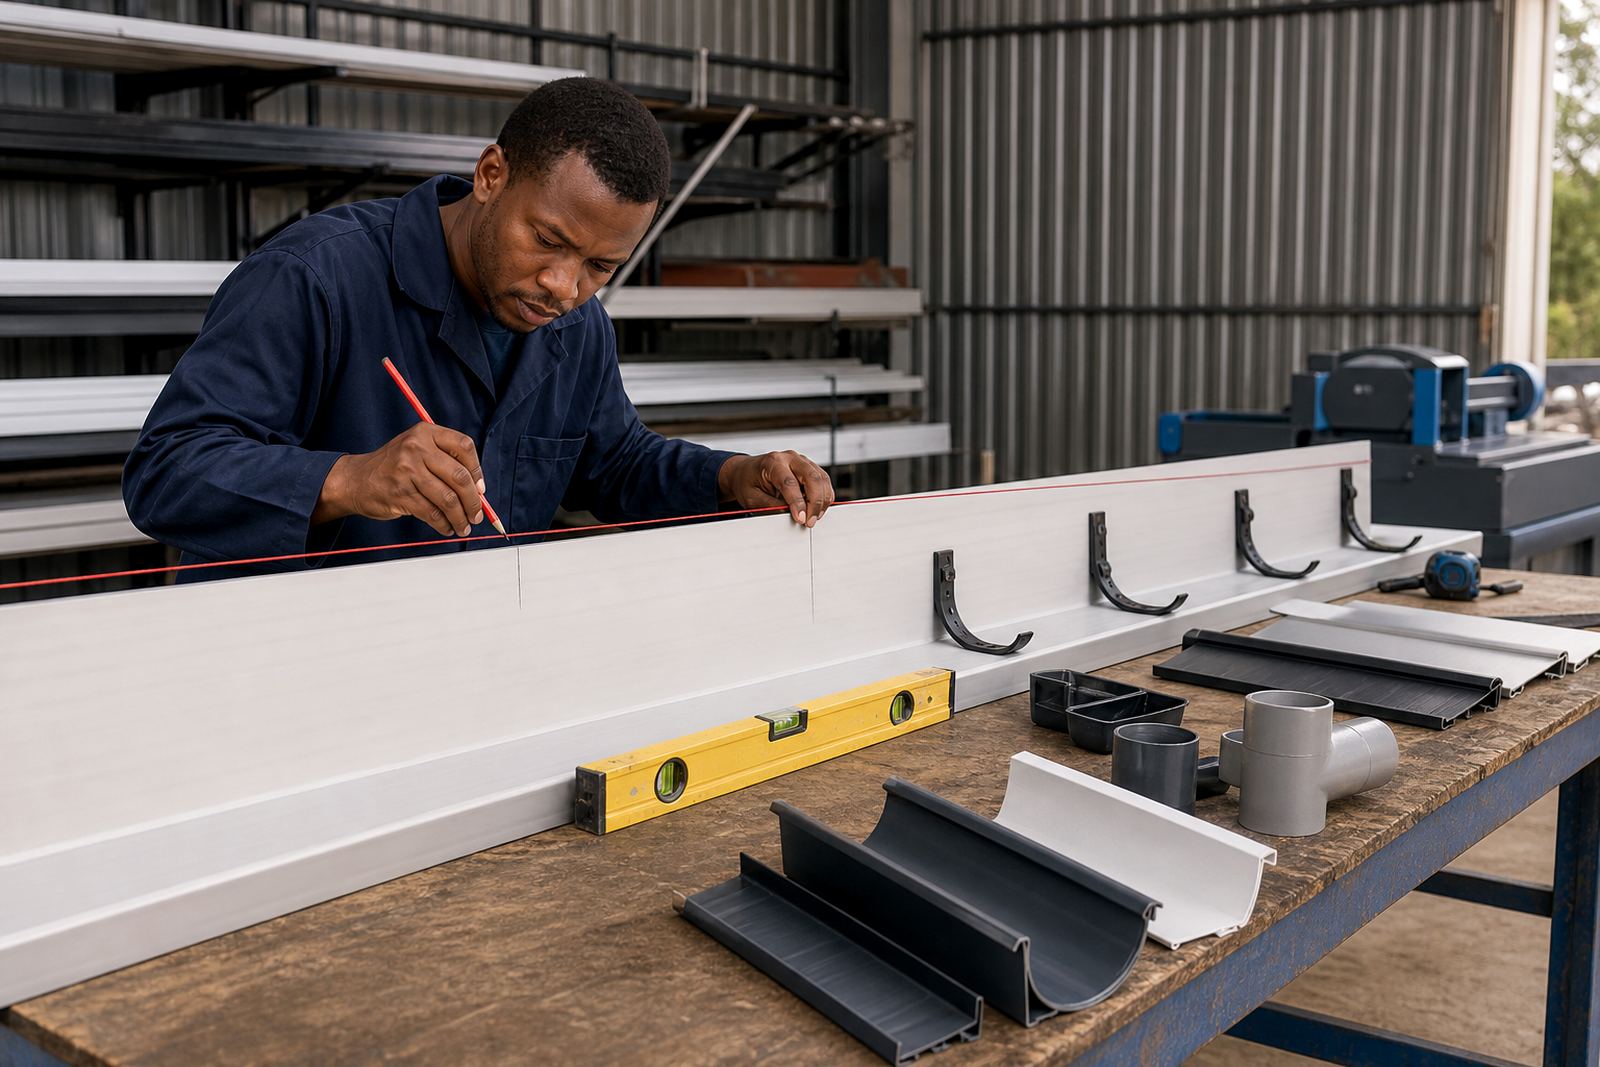
A common method is to work from the outlet backwards and set bracket heights with a measured drop over the full length. On shorter domestic runs, that can be a small difference from one end to the other. On longer factory or patio runs, the drop may need to be more deliberate. The important part is consistency across the run so the gutter keeps its line and the water does not sit in pockets.
- Use a string line or level before drilling any fixing points.
- Keep the fall even, with no sudden dips at joins.
- Check that fascia boards are straight enough to support the line.
- Where the roof edge is uneven, shim brackets carefully rather than forcing the gutter to follow every bump.
Bracket Spacing, Support and Fascia Condition
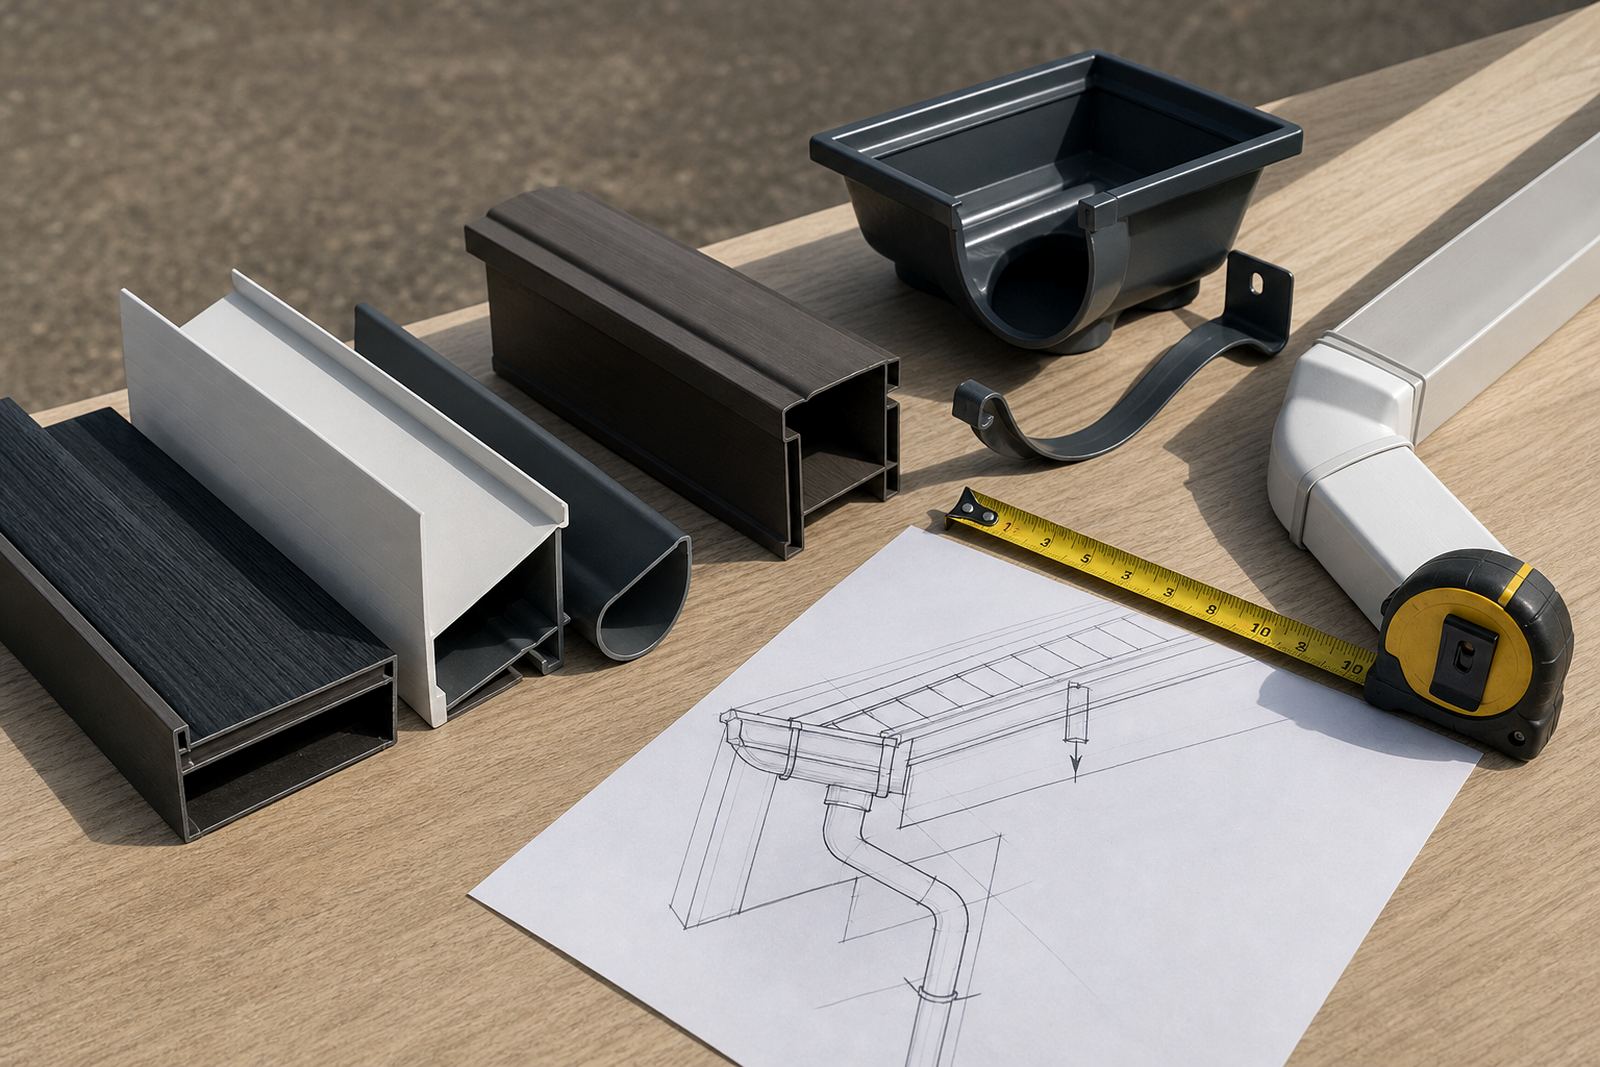
Brackets do more than hold the gutter up. They keep the fall true and stop the gutter twisting when it fills with water. The spacing must suit the profile and the expected water load, especially on long roofs or where leaves, dust and wind-blown grit collect. In coastal areas such as Durban or Cape Town, salt air and moisture can also affect fixings, so the support layout must be practical and easy to maintain.
Check the fascia board before planning the run. If the board is warped, rotten or uneven, the gutter line will never sit properly. Fascia boards should give a solid fixing face and a clean edge for the gutter back to sit against. Where boards need replacement, do that before final setting out, otherwise the falls can be wrong from the start and the gutter may pull away under load.
- Place brackets close enough to support water weight, corners and outlets.
- Use extra support near joins and downpipe positions.
- Inspect fascia for rot, swelling or loose fixings before marking heights.
- Keep bracket alignment straight so the gutter does not wave along the run.
Downpipe Placement for Better Drainage
A gutter system works only if the water can leave the run cleanly. Downpipes should be placed where the flow from the gutter reaches the outlet without backing up or splashing over the front edge. For larger roofs, it may be better to split the drainage into more than one downpipe rather than pushing everything through a single point. That reduces overflow during a hard rain and makes maintenance easier.
On homes and small commercial buildings, the downpipe should also be protected from damage where foot traffic, vehicles or garden tools can strike it. The route down the wall should be straight enough for flow and maintenance, with enough support clips to stop movement in wind. If the roofline changes direction, plan the pipe route before the gutter is fixed so the outlet and elbow positions line up properly.
A Practical Check Before Installation Starts
A short pre-install check saves time on site and helps the gutter run perform properly from the first rain. It also avoids having to redo cuts, brackets or outlet positions after the line is already fixed. At Plasteel, this is the sort of planning that matters on a residential patio in Randburg just as much as it does on a retail roof in Pretoria or a warehouse in Midrand.
Use this checklist before work begins:
- Confirm roof length, roof shape and the direction of water flow.
- Measure the position of corners, joins and outlets.
- Check fascia straightness and fixing strength.
- Decide whether the fall will run to one end or to a centre outlet.
- Plan downpipe locations and discharge points.
- Make sure competent people handle roof work at height safely with the right access gear.
Once the system is installed, a quick test with water shows whether the fall is working properly. Look for slow moving water, pooling near brackets, leaks at joints and overflow at the front lip. Small corrections made early are much easier than patching damage after the first heavy storm.
Keeping the System Clear Through the Seasons
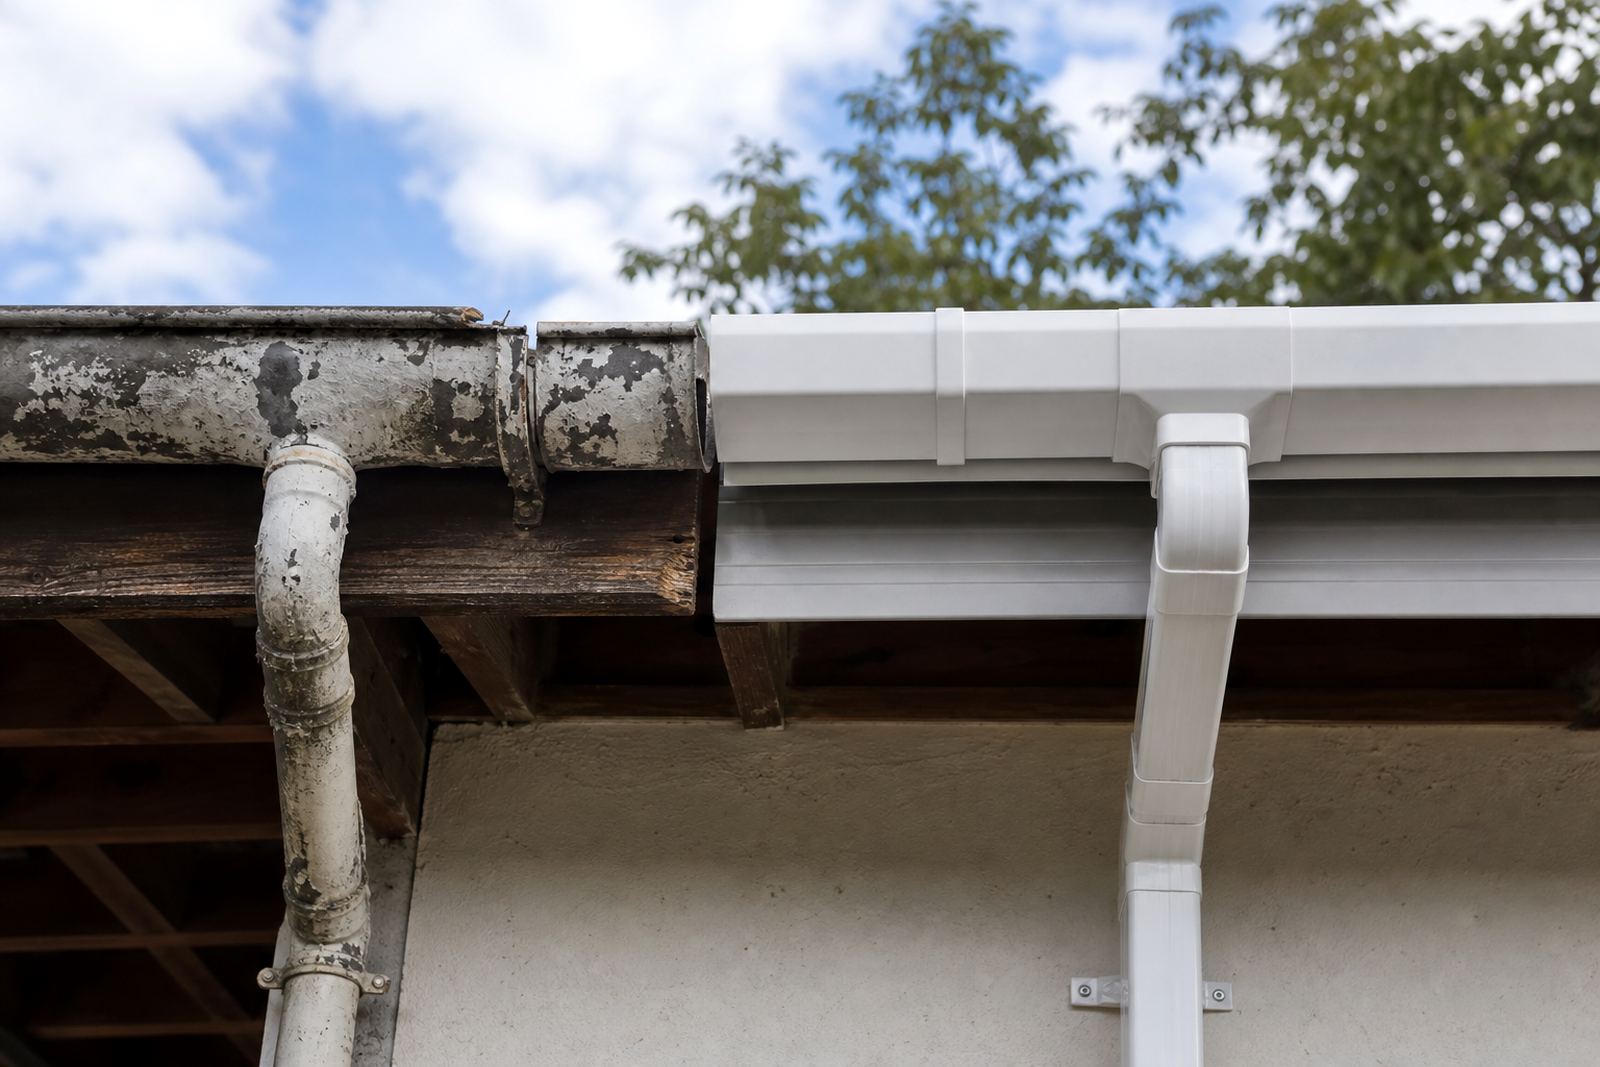
After installation, maintenance keeps the planned fall doing its job. Gutter runs collect leaves, sand, seed pods and dust, especially near trees or in windy suburbs. In coastal towns, salt and moisture can speed up corrosion on poor fixings and create grime that settles into the channel. A regular clean helps the water move freely and lets you spot loose brackets or hairline cracks before they spread.
Inspect the gutter after storms and at the change of season. Clear the outlet first, then check the rest of the run for standing water. If the gutter has sagged, the fall may need to be reset, or the supports may need attention. Good maintenance is practical, not complicated, but it does need a steady eye and safe access. On higher roofs, let competent people do the work with proper fall protection and access equipment.