
Walk the eaves and note every change in direction
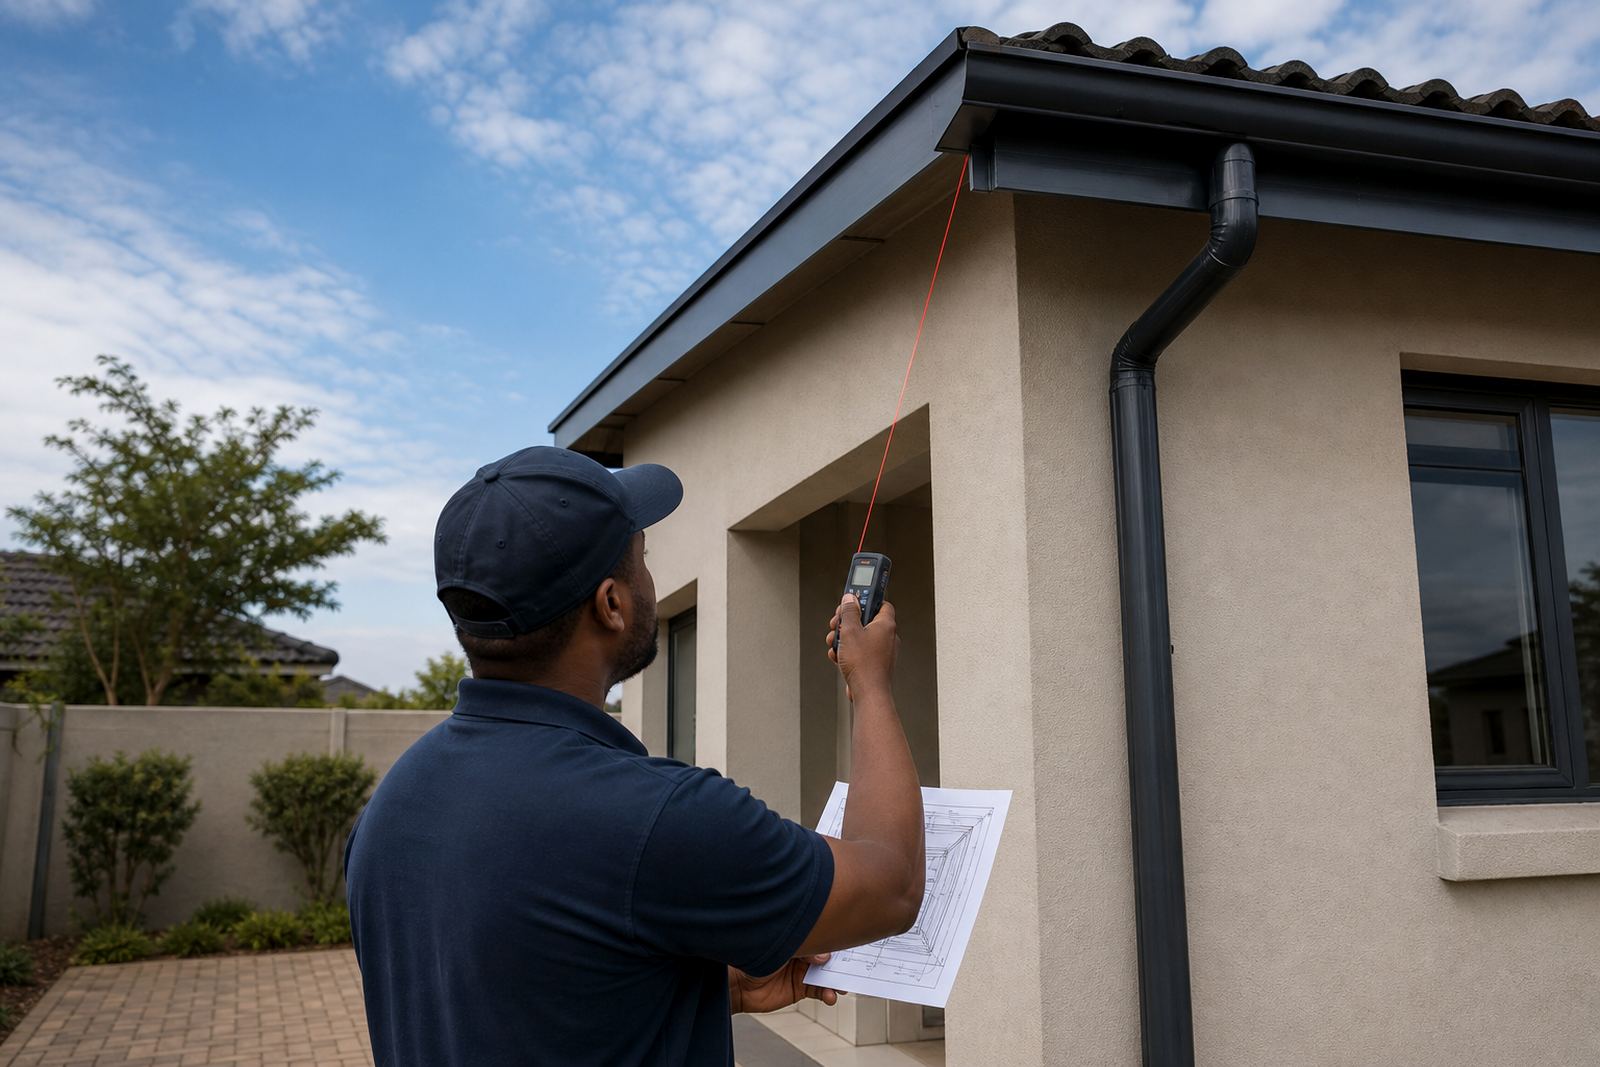
Start at one corner of the roof and measure the full run along the eaves, then work your way around the house or building one side at a time. Include every straight section, inside corner and outside corner. A simple sketch on paper helps, even if it is rough, because it keeps the lengths in order and shows where joins or corner pieces will be needed.
If the building has verandas, garages, lean-to sections or different roof heights, treat each line separately. Do not guess from the ground alone. A tape measure, ladder and a second set of eyes make the job easier, but roofing work at height must be done safely by competent people with the right access equipment.
- Measure each straight gutter run in metres.
- Mark inside and outside corners on your sketch.
- Note any roof returns, porches or short add-on sections.
- Record the longest wall separately if the roofline steps in and out.
Work out the gutter fall before choosing brackets
Water needs a slight fall so it can move toward the downpipe instead of sitting in the gutter. On a typical installation, the fall is gentle, not steep. Too much slope can look untidy and pull the line out of square, while too little can leave standing water and dirt build-up. When you are planning your measure, mark the highest point and the outlet point on each run.
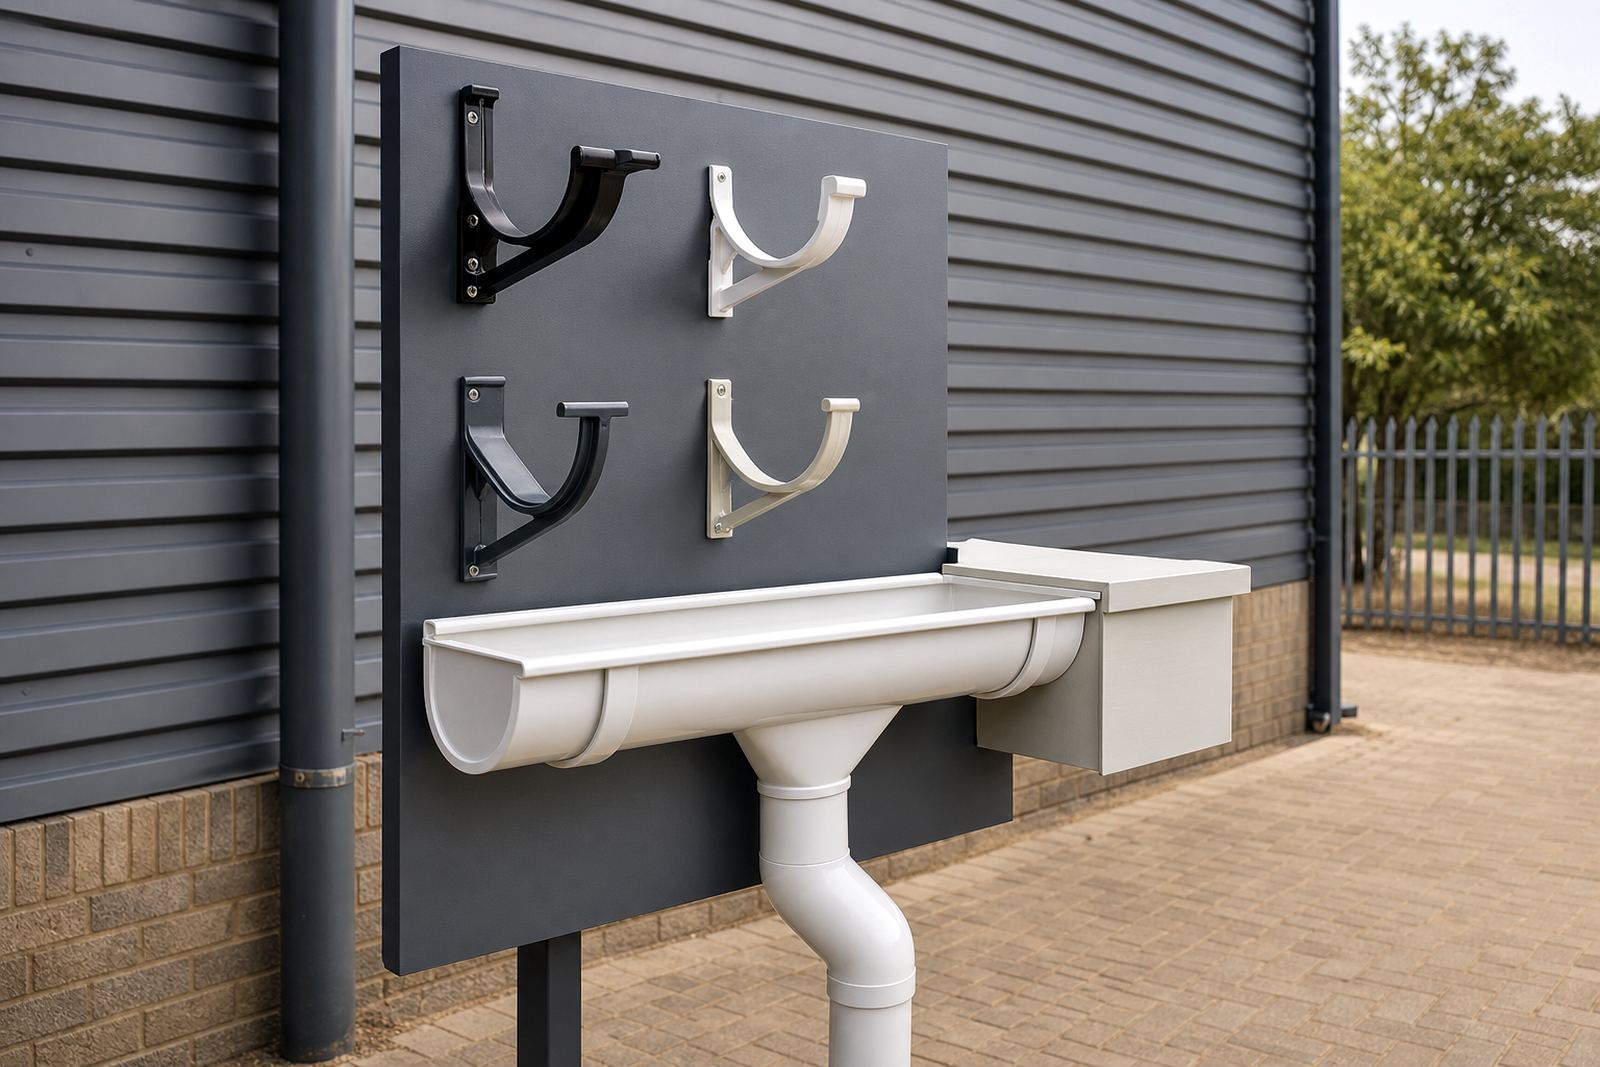
As a guide, measure the run and note where the downpipe will sit, usually at the lowest end or at a practical outlet point near a corner. Bracket spacing and the number of support points depend on the gutter profile and the length of the run. In windy areas or coastal towns, extra care helps keep the line steady and neat over time.
- Note the high end and low end of each gutter run.
- Check where rainwater can flow naturally to the outlet.
- Allow for extra support where the run is long.
- Watch for uneven walls or warped fascia that may affect the line.
Count corners, outlets and downpipe drops
Fittings matter just as much as the straight lengths. Count every corner, outlet, stop end and joint so the material schedule is complete. Downpipes are usually placed where roof water can be handled neatly and where there is space to run the pipe down to ground level or into the stormwater system, depending on the site conditions and municipal requirements.
For each downpipe drop, measure the vertical distance from the gutter outlet to the point where the pipe will end or connect. Add a small allowance for bends, clips and any offset needed to clear window frames or wall projections. On larger homes and commercial buildings, it often helps to note the position of each drop on the sketch so there is no confusion later.
- Count the number of gutter corners, both inside and outside.
- Count outlets and downpipe drops separately.
- Measure vertical drops in metres, not only the wall height.
- Note bends, offsets and any ground connection points.
Measure fascia boards against the roof edge
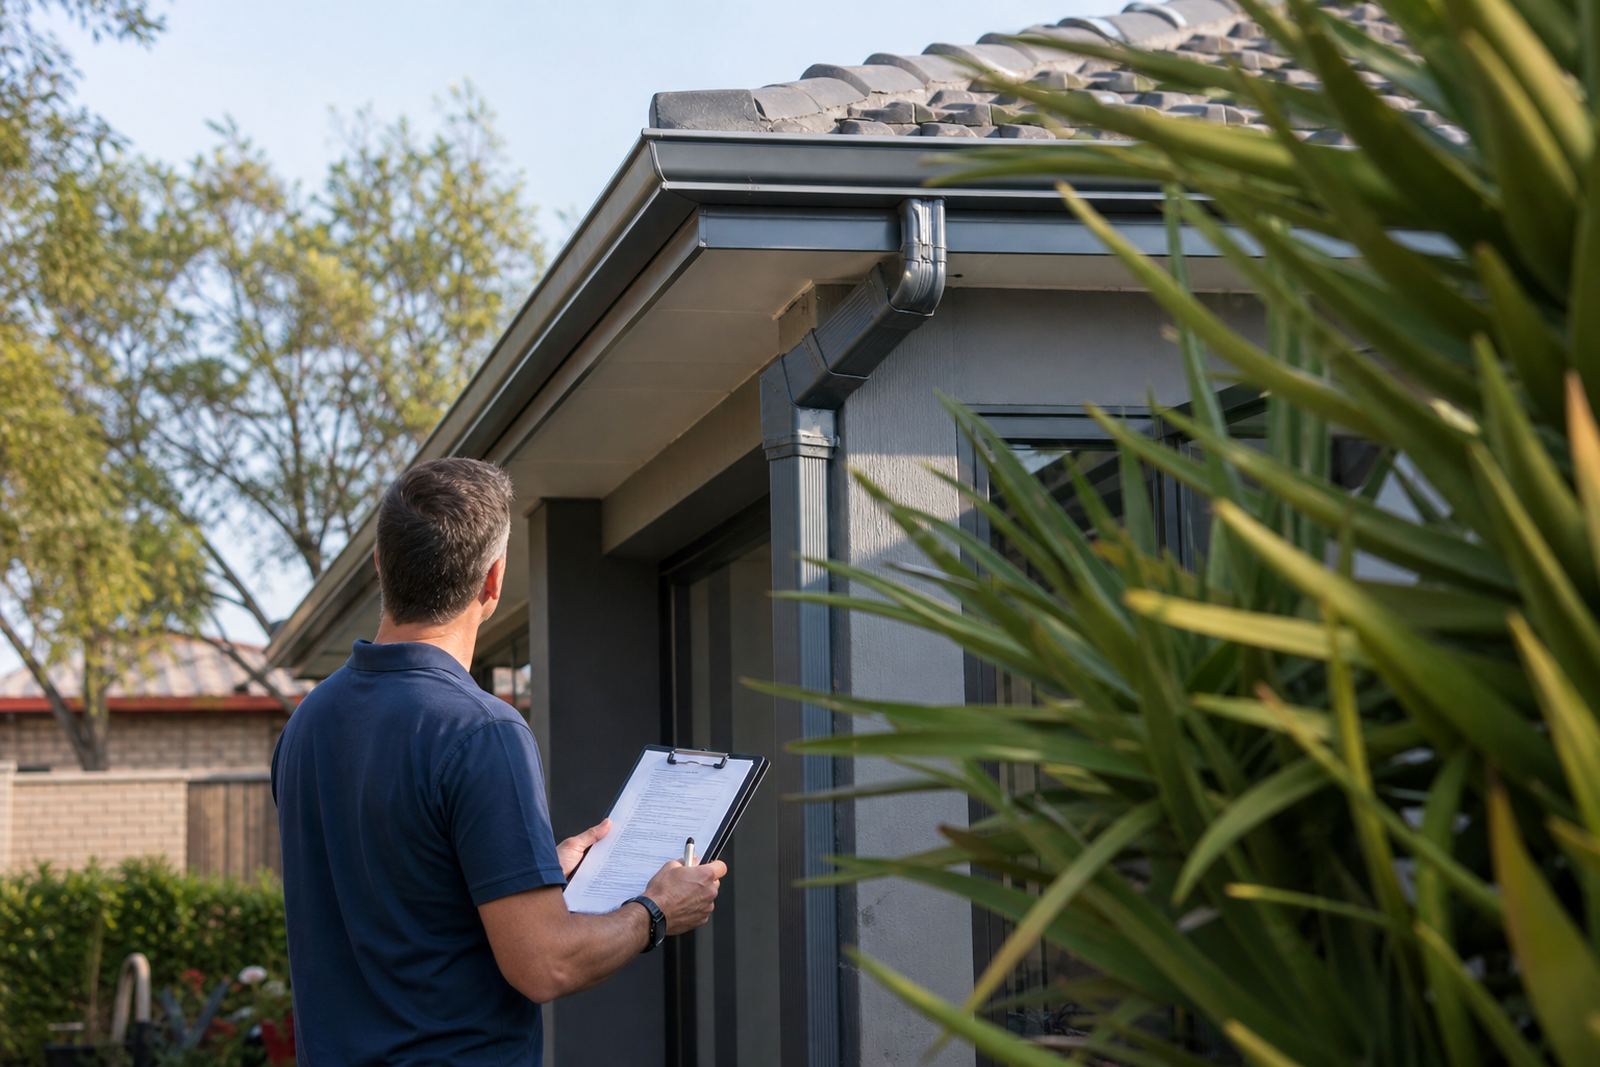
Fascia boards should be measured along the full edge where they will be fixed, not only where the old board is still visible. Check the length of each side, plus short return pieces at gables or projections. If the existing fascia is damaged or swollen, measure the full line carefully because the replacement board may need to cover the full edge cleanly.
Look at the condition of the rafter ends and the roof edge before you measure. In older properties, the fascia line may not be perfectly straight. A proper note of any dips, twists or sections affected by moisture will help when planning replacement materials and fixings.
- Measure each roof edge separately.
- Include short return pieces and gable ends.
- Note visible damage, rot or uneven sections.
- Check whether the fascia line is straight or has settled over time.
Use a roofline sketch to keep the numbers clear
A good sketch saves time and helps when comparing material options. Draw the building shape from above and label each side with a length. Add arrows for water flow, mark the downpipe positions and write the number of corners and outlets next to each run. If the roof has multiple levels, give each level a separate note so the measurements do not get mixed up.
This is also the place to note anything unusual, such as a carport, a covered stoep, a parapet wall or a section that already has a slope built in. The sketch does not need to look polished, just clear enough for material takeoff and supply planning.
- Label every side with a length in metres.
- Show gutter fall direction with arrows.
- Mark every downpipe, bend and outlet.
- Separate ground floor runs from higher roof sections.
What to note before you send through an enquiry
Once you have the lengths and fitting counts, gather a few practical details that help match the right materials to the site. Roof type, approximate storey height, easy access points and whether the building is in a coastal or inland area can all affect the final supply plan. Coastal humidity, strong sun and wind exposure can influence the choice of fixings and the level of maintenance needed later.
It also helps to note whether the work is for a new build, a roofline replacement or a repair. Builders often need material takeoff only, while homeowners may want installation, leak checks or maintenance visits. Having the measurements ready means the conversation can focus on the actual roofline instead of starting from scratch.
- Building type: house, townhouse, shop or warehouse.
- Roof height and access notes.
- Approximate total gutter length and total fascia length.
- Number of corners, outlets, downpipe drops and visible problem areas.