
Start With the Roof, Not the Pipe
A downpipe has one job, to move water away from the gutter and safely off the building. The right choice starts with the roof area feeding that gutter run, the local rainfall pattern, and how far the pipe must travel before it discharges into a soakaway, stormwater point or drain approved for the property.
On steep roofs, long eaves, and large commercial buildings, the water load can rise quickly during a heavy shower. That is where pipe size, the number of outlets, and the spacing of brackets start to matter. If the gutter is under-sized or the downpipe is too narrow, water can back up at the outlet and overflow at the fascia, especially where leaves or fine dust build up.
For a practical starting point, match the downpipe to the gutter outlet and the roof area it serves. A smaller patio roof may work well with a neat compact pipe, while a large roof plane or a section that collects water from two sides may need a larger size or a second downpipe. Safe access matters too, roofline work at height must be done by competent people with the correct equipment.
Round or Rectangular, Which Shape Suits the Building?
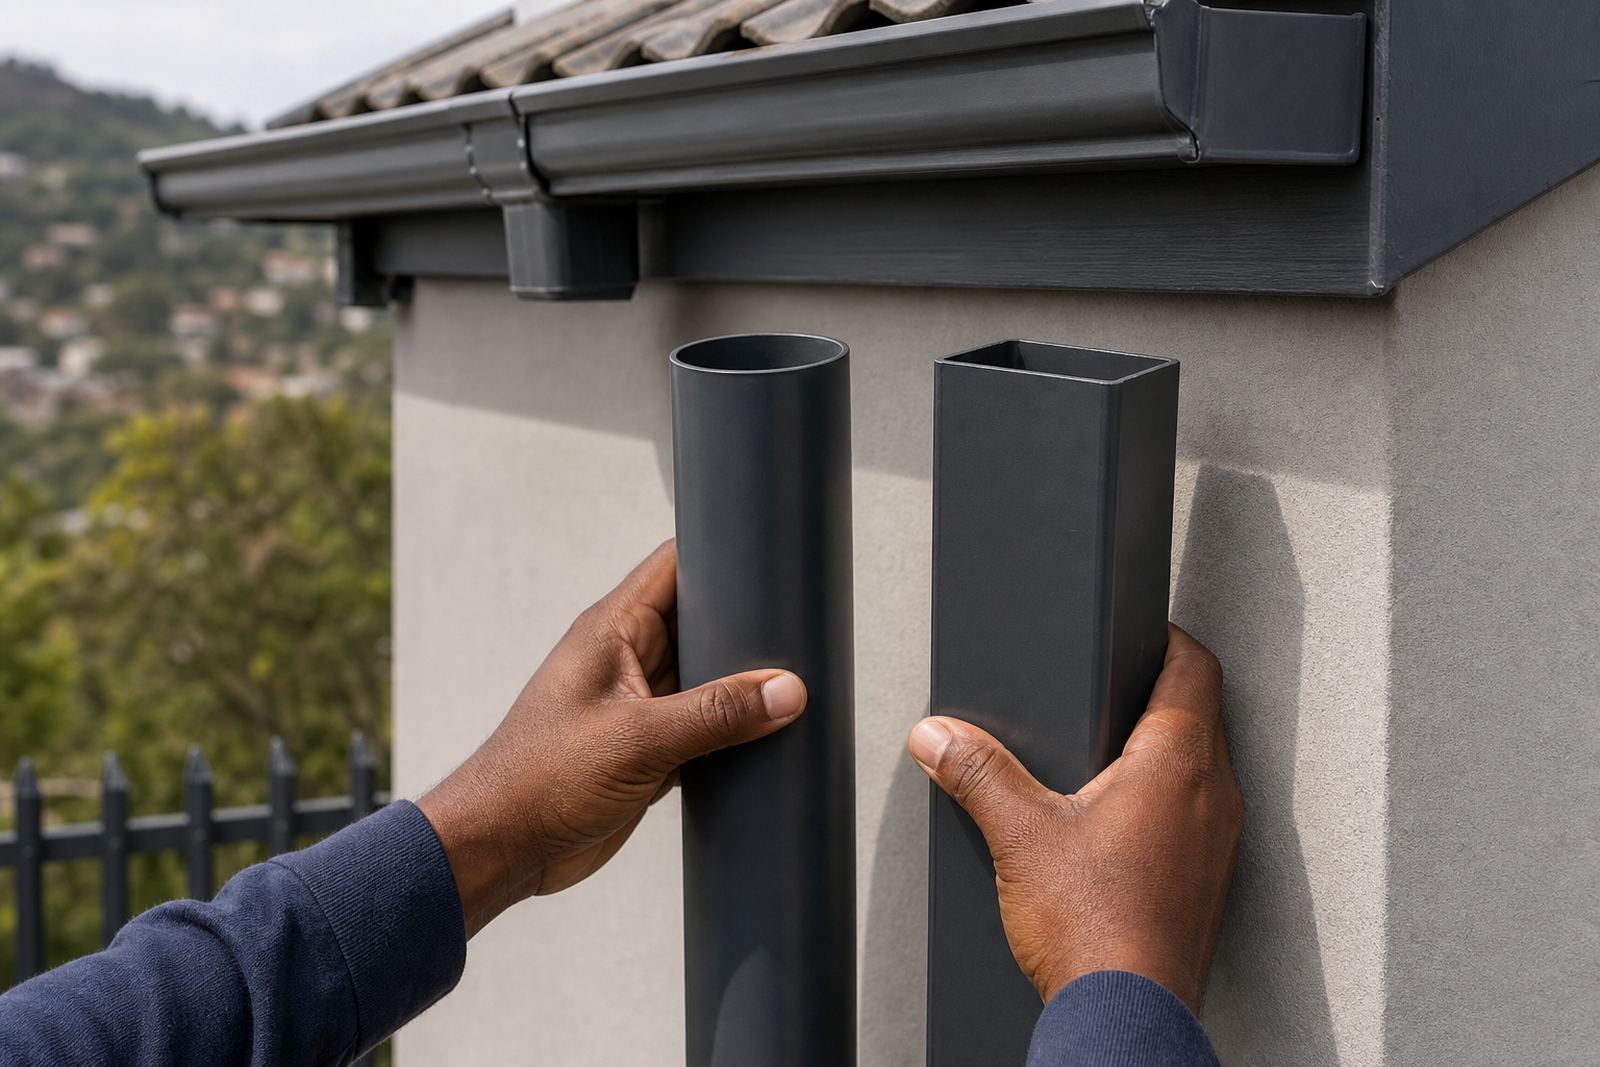
Round downpipes are common on homes where the roofline is curved, simple or traditional. They often suit narrow wall faces and work well where a softer visual line is wanted. Rectangular downpipes suit modern homes, light industrial buildings and commercial façades where straight lines and square profiles fit the architecture better.
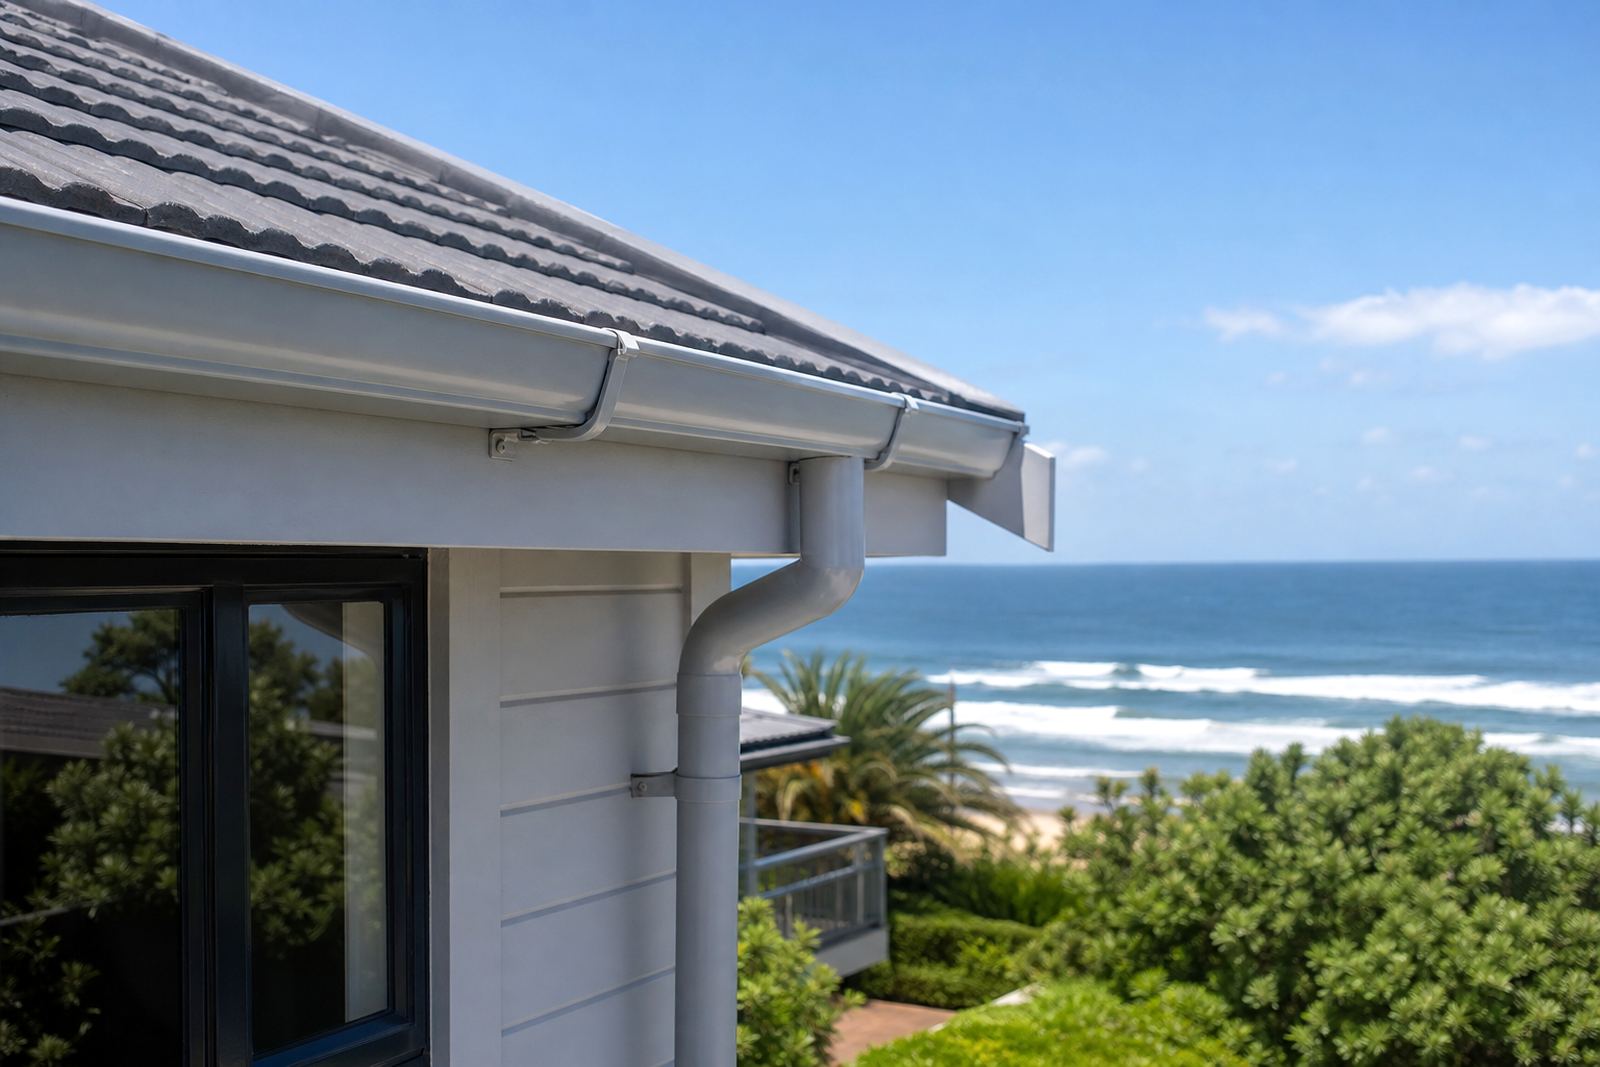
The shape also affects how the pipe sits against the wall. A rectangular pipe can tuck into a corner more neatly, while a round pipe may be easier to position where wall space is limited. In coastal areas, appearance and maintenance both matter because salt and windblown grit can show up quickly on exposed exterior surfaces.
Use the following checklist when comparing the two:
- Match the profile to the roof style and fascia board line.
- Check how much wall space is available beside windows, doors and corners.
- Consider where the pipe will discharge and whether a longer run is needed.
- Look at cleaning access for leaves, dust and bird nesting material.
- Choose a size that can cope with the roof area feeding the gutter.
Sizing That Works in Real Conditions
Downpipe size should be chosen with the gutter outlet and rainfall load in mind. As a general guide, smaller roof sections can use compact pipe sections, while larger roofs, valley outlets and long gutter runs often benefit from a larger profile. A pipe that is too small can choke the flow at the outlet, especially during a sudden downpour when the roof sheds water quickly.
Where a building has several roof planes feeding one gutter line, the layout may need more than one downpipe, or the outlets may need to be split more evenly. Builders often check the roof fall first, then work out the takeoff points so water does not travel too far along the gutter before it drops. That helps reduce standing water, staining and extra load on the brackets.
Useful checks before ordering include:
- Measure the gutter run and note the roof area feeding it.
- Check whether the outlet is at one end, the middle or a corner.
- Look for obstructions such as beams, parapets or window heads.
- Confirm where the pipe will discharge at ground level.
- Allow for maintenance access, especially where ladders are needed.
Fixing, Brackets and a Clean Fall
Good downpipe performance depends on how it is fixed, not only on the pipe itself. Brackets should hold the pipe steady against wind movement and expansion, while still allowing a clean line from the gutter outlet down to the discharge point. If the pipe is out of plumb or the offsets are rushed, water can splash at the joints and put extra strain on the fixings.
The gutter must also have the correct fall toward the outlet. If the fall is too flat, water lingers in the line and carries dirt with it. If it is too steep, the visual line can look awkward and the water can surge too quickly at the outlet. A measured fall across the gutter run gives the pipe a fair chance to do its job properly.
When the installation is being checked, look for these points:
- Secure brackets at suitable intervals along the pipe.
- Neat alignment from gutter outlet to discharge point.
- No loose joints or gaps where water can escape.
- Correct gutter fall toward the outlet, with no standing water.
- Enough clearance from walls, paving and opening windows.
Material Choice for South African Conditions
Plastic-steel composite downpipes are chosen for a reason. They are intended to handle daily weather exposure while keeping weight manageable for installers and builders. In towns with strong sun, summer storms and dust, the pipe needs to hold its shape and stay serviceable without constant attention. Near the coast, salt air can be hard on exterior components, so maintenance and material selection both matter.
For homes, apartments and commercial rooflines, the material should match the rest of the rainwater system. Fascia boards, gutters and downpipes should work together as one line. If one part is oversized or out of proportion, the whole edge of the building can look uneven. The finish also needs to stand up to grime from traffic, tree cover and seasonal weather shifts.
Plasteel supplies plastic-steel composite gutter, downpipe and fascia materials for projects across Johannesburg, Pretoria, Durban, Cape Town and Polokwane, with support for builders, homeowners and site teams from our Kya Sand, Randburg base.
Keeping the System Clear After Installation
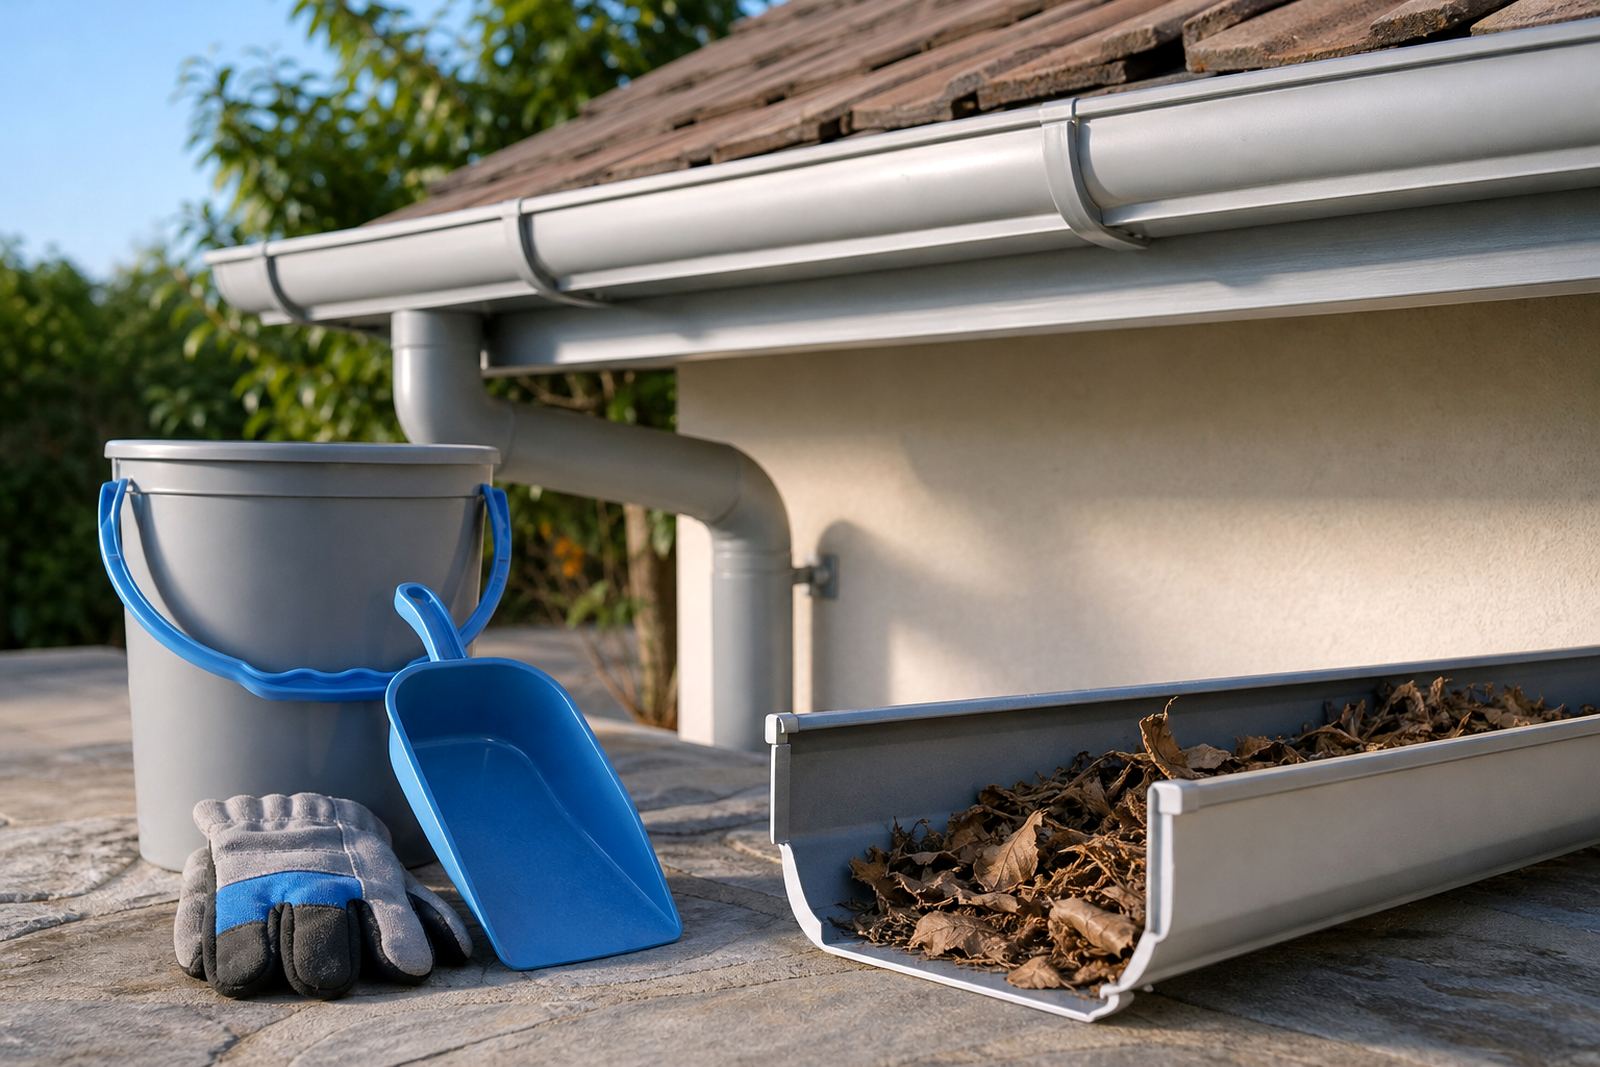
Downpipes last longer when they are kept clear. Leaves, sand, roof dust and small twigs can collect at the outlet or in the first bend, then slow the flow. After a heavy storm, it is worth checking for overflow marks, loose brackets and debris caught at the top of the pipe. Coastal properties may need more frequent cleaning because wind-blown material and salt exposure can shorten the time between maintenance visits.
For routine upkeep, a simple inspection schedule is usually enough if the roofline is accessible. Check the gutters, the outlet, the first section of pipe and the ground discharge point. If the pipe discharges into a drain or soakaway, make sure that point is open and not blocked by soil or building rubble. Where the pipework is high or difficult to reach, use competent people with the right access equipment.
Maintenance checklist:
- Clear leaves and grit from the outlet.
- Look for cracked joints, movement or staining.
- Confirm water flows away from the wall base.
- Check brackets after strong wind or stormy weather.
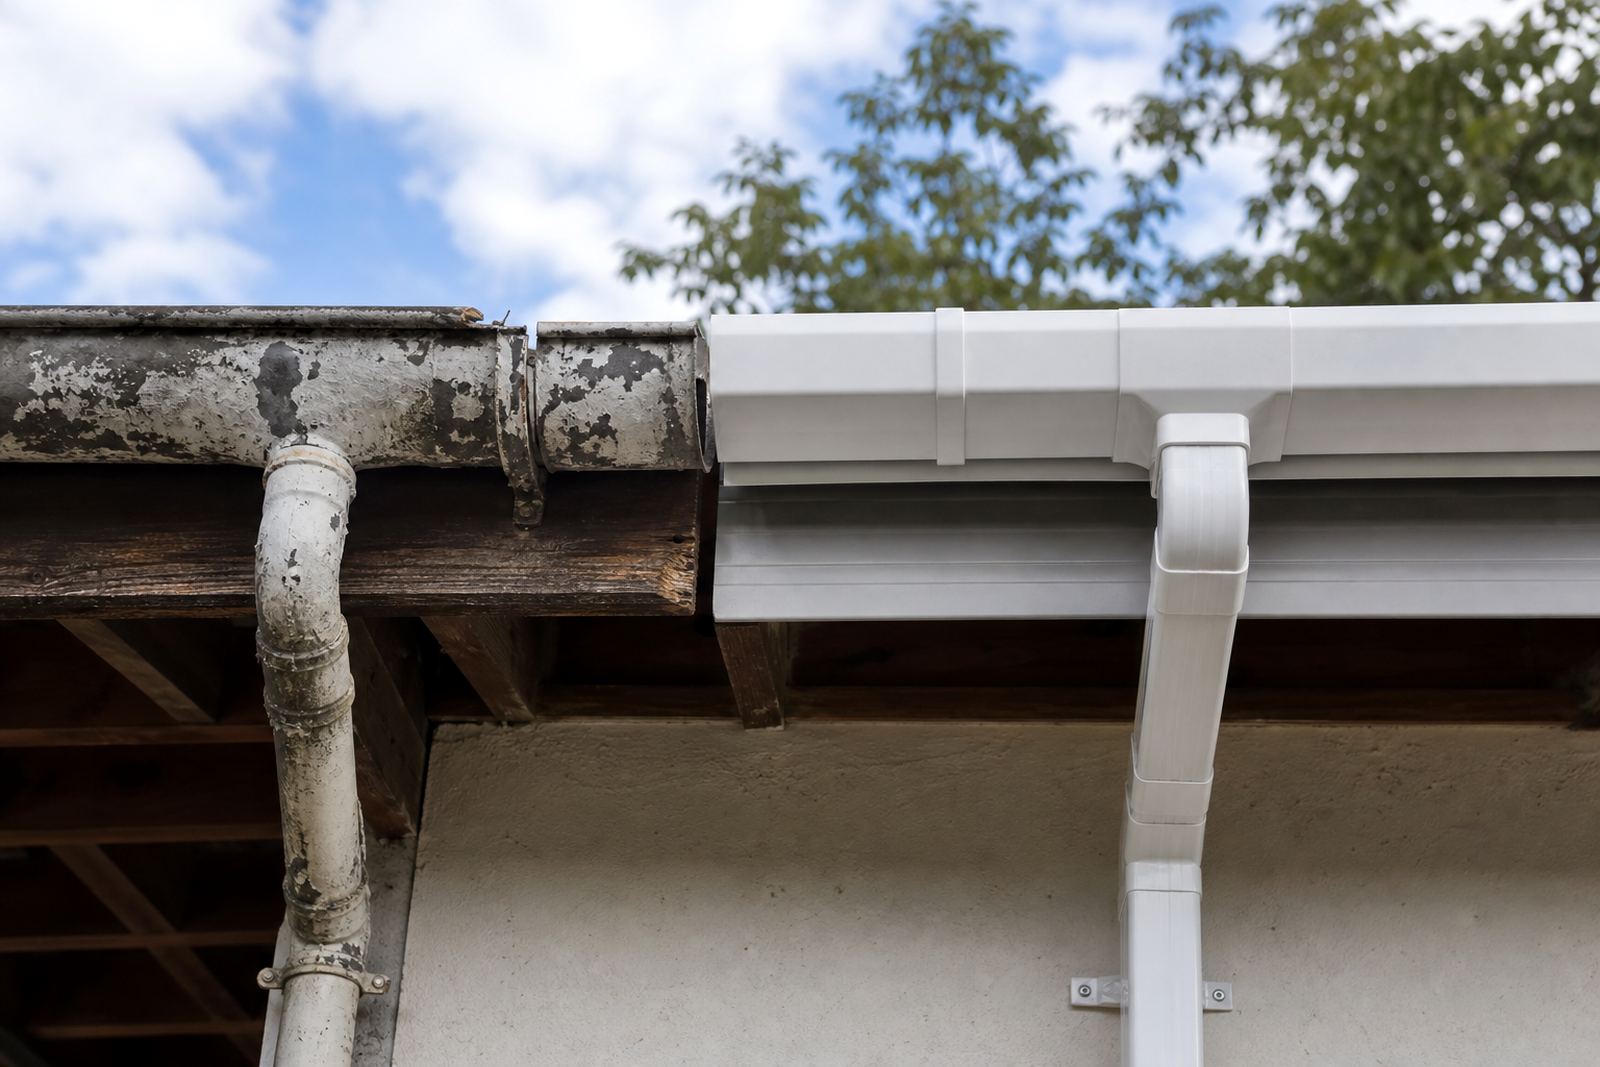
- Replace damaged sections before small faults spread.
A Practical Way to Pick the Right Pipe
If the building is neat and modern, rectangular downpipes often give the cleanest finish. If the structure is more traditional, or wall space is tight, round downpipes can be the better fit. The real test is not just the shape, but whether the pipe can carry the water load, sit neatly against the wall and remain easy to inspect later.
A useful order of decisions is this: confirm the roof area, choose the gutter outlet position, decide on round or rectangular profile, then match the brackets and discharge route. That approach avoids guesswork and keeps the rainwater system balanced. It also makes it easier for builders to work out the material takeoff before site work starts.
For product supply, site measuring, roofline replacement, leak checks, fascia installation, gutter installation and delivery coordination, our team handles practical rainwater system work across South Africa from Kya Sand, Randburg.