
A Roof Edge That Had Started to Fail
The property sat in a quiet Randburg street with a standard suburban roofline and a mix of old timber and weathered metal fittings. The homeowners wanted the roof edge cleaned up, the stained boards replaced and the rainwater run-off handled properly along the front and side elevations. The brief was practical rather than decorative: remove the worn materials, restore the line of the gutters and fit a finish that would cope with sun, dust and summer storms.
As with many homes in this part of Johannesburg, the roof had more than one age of material on it. The old fascia boards had softened in places and the previous outlets were not giving water a clear path into the downpipes. That can lead to overflow, damp patches and tired looking eaves, especially when the first hard rains hit after a dry spell.
What We Found Before Work Started
The existing gutters were holding debris and several sections were out of alignment. Where the fall had been lost over time, water sat in the gutter instead of moving toward the outlets. In one corner the fascia line had dipped enough to show a gap at the roof edge. That kind of movement is common where old fixings have loosened, and it is one reason a proper check of brackets, end caps and outlet positions matters before any replacement begins.
Access was straightforward from the ground and from safe roof access points, but the slope and edge height still meant the work had to be handled by competent people using the correct fall protection and handling methods. Roofline replacement is not a casual job, and the sequence of removal, setting-out and fixing has to be done neatly if the finished line is to hold under wind and rain.
- Old gutter sections showing wear and poor drainage
- Fascia boards with soft spots and uneven fixing
- Outlets needing repositioning for better water flow
- Localised staining from past overflow at the eaves
Materials Supplied for the New Roofline
We supplied plastic-steel composite gutters, fascia boards and matching downpipe components selected for a residential installation in a coastal-free but sun-heavy inland setting like Randburg. The composite material gives a neat appearance while resisting the common problems that affect plain timber and thin sheet materials, including warping, rot and frequent repainting. It is a practical choice for builders and homeowners who want a cleaner edge and less upkeep over time.
The gutter sections were set to suit the roof span and outlet positions on the house. The fascia boards were cut to suit the line of the eaves, with joints placed neatly so the finish would read as one continuous run. We also supplied brackets, fixings, outlets, stop ends and downpipe lengths sized to the house layout so the rainwater could move off the roof and away from the walls without pooling at the base.
- Plastic-steel composite gutters for the main eaves run
- Matching fascia boards for a uniform roof edge
- Downpipes and outlets sized to suit the roof area
- Brackets, fixings and seals for secure installation
How the Installation Was Carried Out
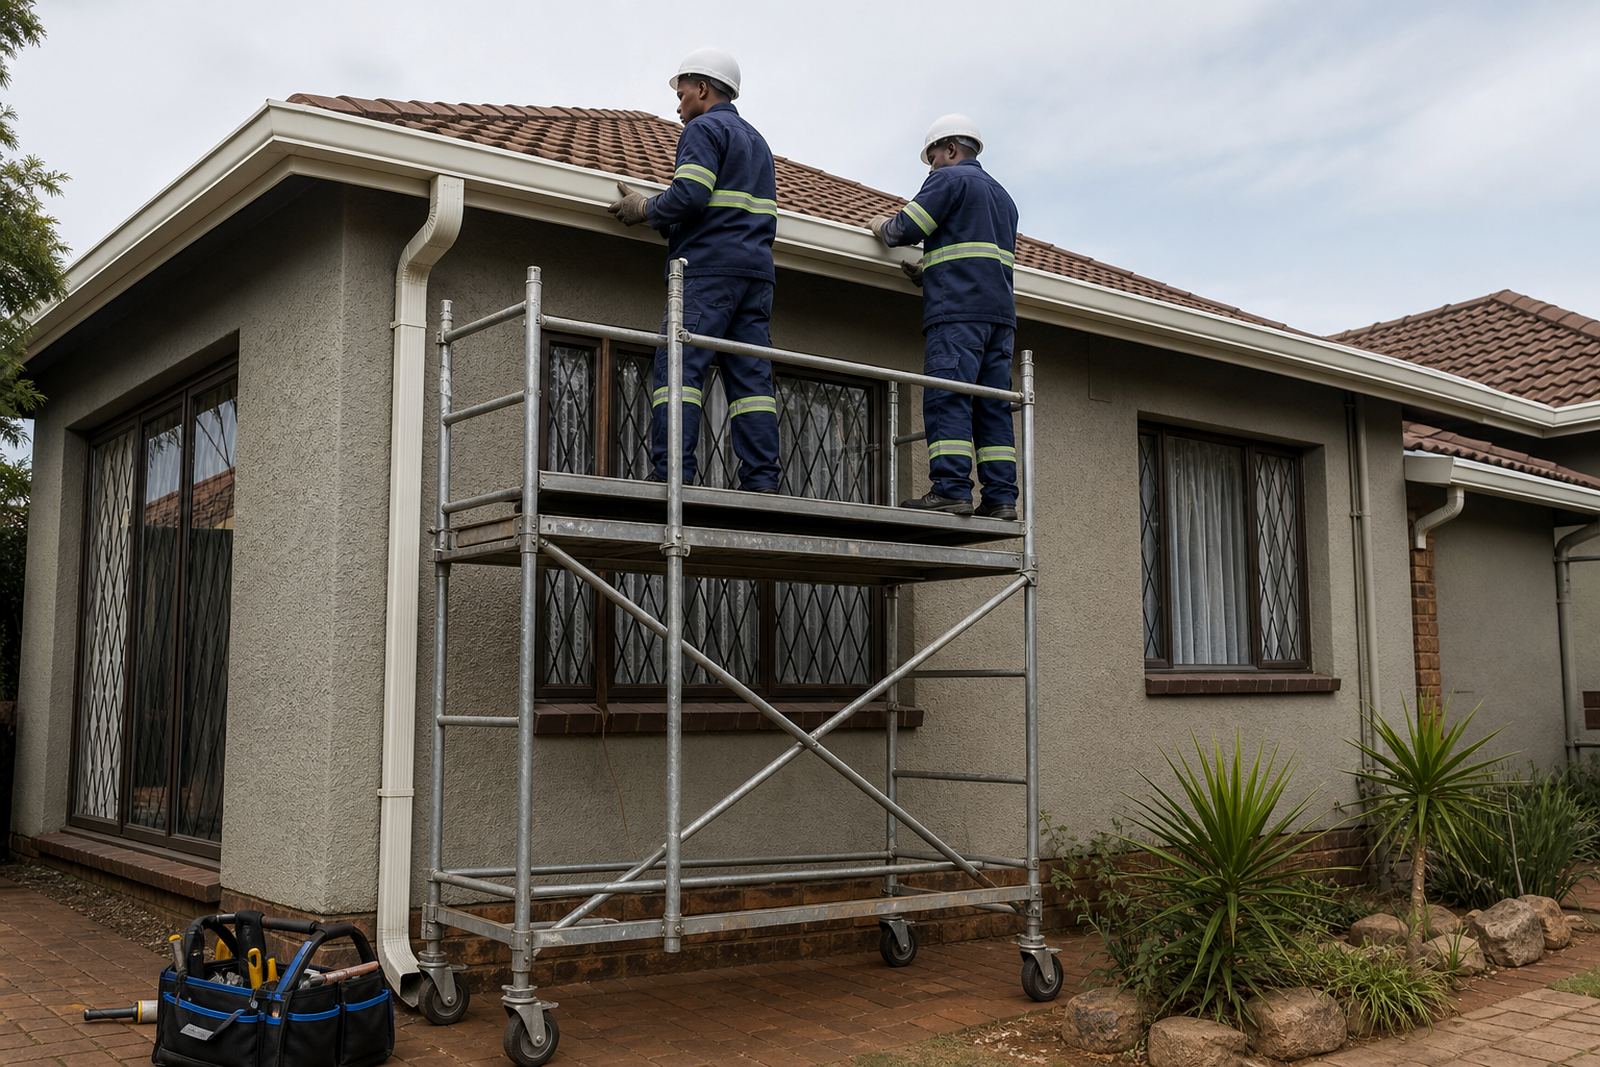
We stripped out the worn guttering and the old fascia boards first, then cleaned the roof edge and checked the underlying timber line. Where the substrate needed attention, we dealt with it before any new boards went on. The new fascia boards were fixed level and true, then the gutter brackets were set to the correct fall so water would run toward the outlets rather than sit in low spots. That small line change makes a big difference during a summer downpour.
The downpipes were then installed to suit the existing drainage path, with careful positioning to keep water away from the wall base and paving. We checked the joints, outlet connections and end closures before finishing off the visible line. The work took two weeks from site measuring through to completion, which allowed time for accurate takeoff, material preparation and tidy fitting across the different roof sections.
- Site measuring and material takeoff
- Removal of damaged gutter and fascia sections
- New fascia alignment and bracket setting
- Outlet and downpipe installation with final leak checks
What Changed After the Replacement
The house looked sharper straight away, but the bigger gain was in function. The new gutter line ran evenly, the outlets were properly positioned and the fascia finish gave the roof edge a much cleaner look. Water no longer gathered at the weak points that had been causing overflow, and the whole roof perimeter sat more neatly against the wall line. For the homeowners, that meant less staining at the eaves and less concern when the next heavy rain moved through Randburg.
From a maintenance point of view, the new setup is easier to manage. A periodic clean-out of leaves and debris keeps the guttering clear, and a visual check after storms helps spot any movement in brackets or joints. In built-up suburbs, dust and seed debris can build up quickly, so a simple maintenance routine goes a long way. For a property like this, that is usually a better use of time than repeated patch repairs on ageing materials.
The Practical Takeaways From This Randburg Job
This project showed how much difference the roof edge makes to the overall condition of a house. A gutter is not just a length of channel, it works with the fall, brackets, outlets and downpipes as one system. If one part is off, the rest of the line starts to suffer. On this Randburg home, the replacement work restored that system and gave the owners a roof edge that is easier to keep in shape.
For builders, the details matter: correct sizing, straight runs, secure fixings and outlets placed where the water can leave the roof without pushing back under the edge. For homeowners, the result is a cleaner finish and fewer day-to-day worries when storms arrive. If we were handling a similar house again, we would follow the same sequence: measure carefully, set the fall correctly, replace the tired fascia first and match the downpipes to the roof load rather than forcing the old layout to do a new job.
- Correct fall is as important as the gutter size
- Sound fascia boards support the whole roof edge
- Joints and brackets need to be checked, not assumed
- Regular cleaning helps the system last longer
Key facts
| Project type | Residential roofline replacement |
|---|---|
| Location | Randburg, Johannesburg |
| Material | Plastic-steel composite gutters, fascia boards and downpipes |
| Scope | Replacement of gutters, outlets and fascia boards with leak checks |
| Timeline | 2 weeks from measuring to completion |
| Service support | Site measuring, product supply, installation and maintenance advice |